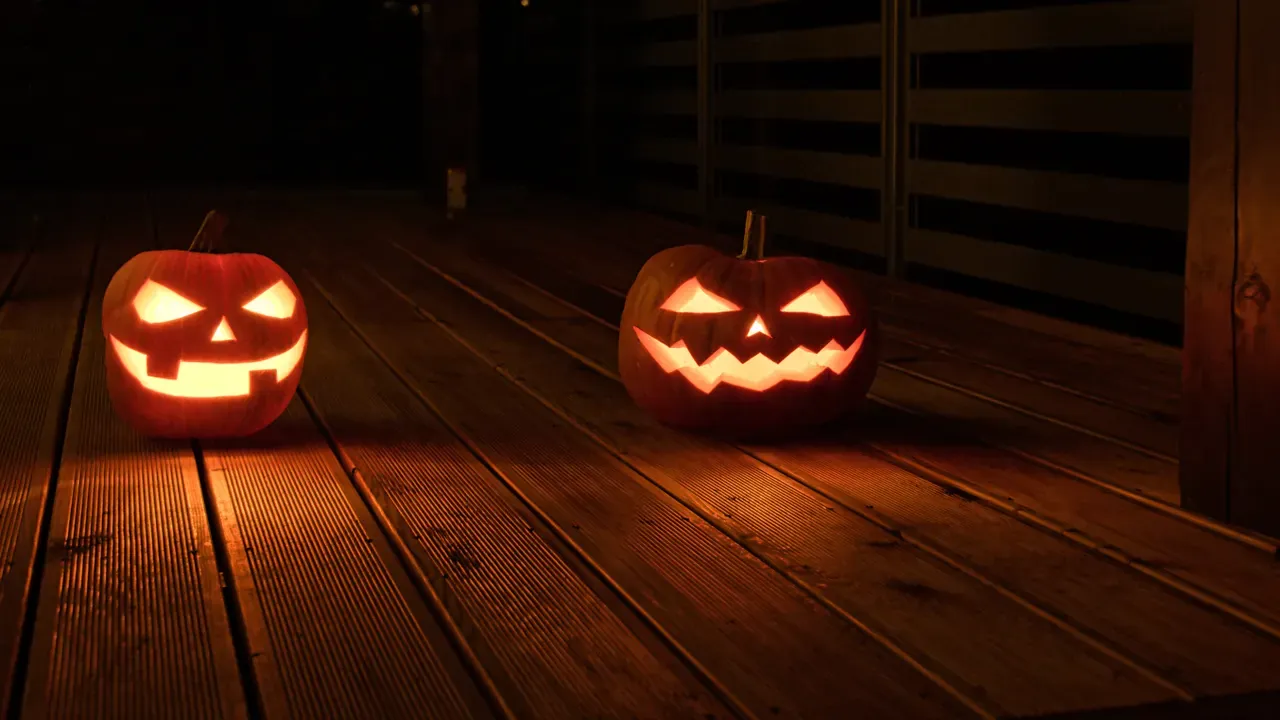
A few weeks out from October 31 is the sweet spot for planning. These DIY Halloween porch ideas for every scare level let you pick how far to go: cheerful welcome for little trick-or-treaters, or a display that makes teenagers pause at the gate. The method is the same, build one solid autumn base, then layer on the level of spook you enjoy.
Your Scare-Level Plan at a Glance
Think of your porch in four tiers: cute and kid-safe, spooky after dark, creepy with details that feel slightly wrong, and full fright. Stop at whichever tier matches your neighborhood and your nerve. Everything below builds on the level before it.
Start With an Autumn Base That Works at Every Level

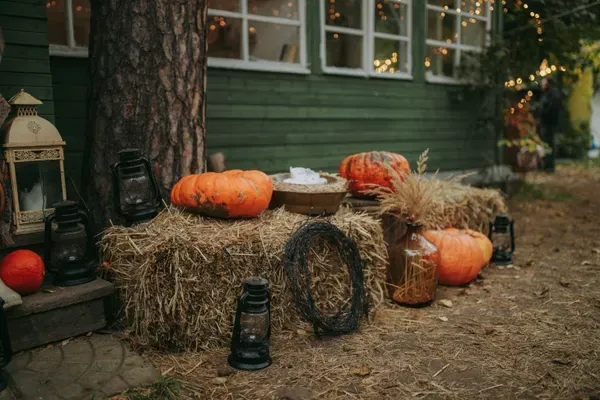
Every version of this display starts with the same foundation: pumpkins in three sizes, a lantern or two, one planted container, a wreath on the door, and a bundle of bare branches in a tall pot. This base reads as harvest decor through most of October, so you can put it out early without looking like you skipped straight to Halloween. If you need a refresher on building strong seasonal containers, this fall planter guide covers the basics that make the base look full instead of sparse.
Set the base the weekend of October 10. Uncarved pumpkins keep for weeks, and keep at least 36 inches of walking space clear on the steps and path.
Level 1: Cute DIY Halloween Porch Ideas
Cute Halloween porch ideas suit households with young kids. The goal is playful, not frightening: soft shapes, smiling faces, and warm light.
Project 1: Fabric Ghosts That Sway in the Breeze
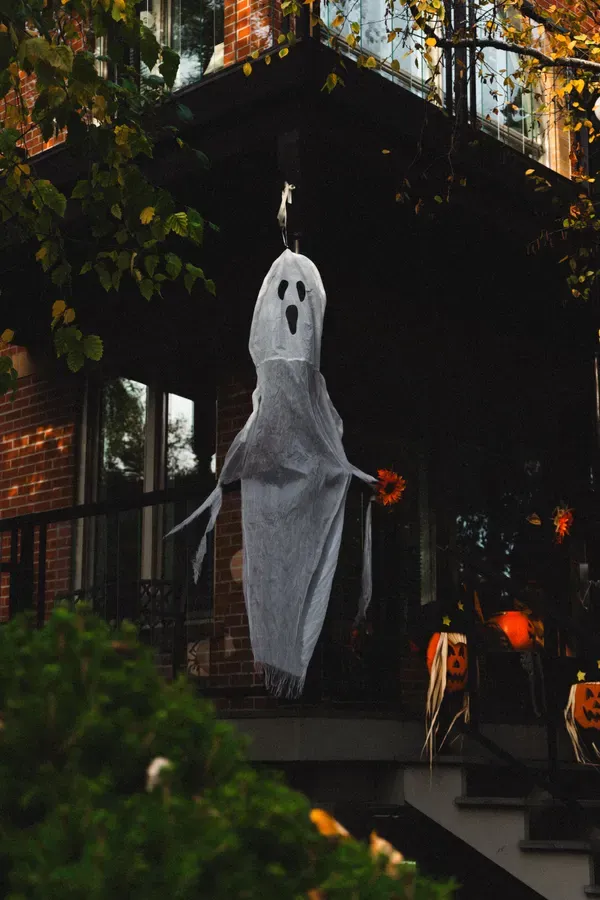
You need: white cotton fabric or old pillowcases, foam balls (4 inch), black felt circles for eyes, garden twine, fishing line.
Drape the fabric over a foam ball, gather it under the “head,” and tie with twine. Glue on two felt eyes and a small oval mouth. Hang three ghosts from the porch ceiling at different heights with fishing line so they sway and turn. Under $15, about 30 minutes. Hang them after October 20 so the fabric does not weather too long.
Project 2: Painted Pumpkins Kids Can Help With

You need: small to medium pumpkins, acrylic craft paint, brushes, paper plates as palettes.
Paint simple motifs: moon and star faces, candy-corn stripes, polka dots, or a friendly black cat silhouette. White and cream pumpkins look especially good painted because colors pop without a second coat. Seal with clear matte sealer if your porch gets rain, and place the kids’ work closest to the door.
Level 2: Spooky DIY Halloween Porch Ideas
Spooky porch decor adds atmosphere without gore. Darker shapes, moving fabric, and amber-leaning lighting. Nothing here frightens a six-year-old in daylight, but after sunset the porch feels like a different place.
Project 3: The Bat Swarm Trail

You need: black cardstock or craft foam, a pencil, scissors, removable adhesive dots, a printable bat template.
Cut 20 to 40 bats in three sizes. Start them low and small near the door, then make them larger and higher as they climb toward the porch ceiling, as if flying up and away. Removable adhesive dots peel off cleanly in November. About $10 for foam sheets and dots; the cutting takes one evening.
Project 4: Lantern Light, Not Porch Light

A bright overhead porch light flattens every decoration. For level 2, switch the porch bulb to an amber or warm-white smart bulb and add two or three battery lanterns at floor level. Low light throws tall, dramatic shadows from branches and railings up the wall, which is where most of the spookiness comes from.

Keep the steps visible: one lantern near the bottom step and one beside the door is enough.
Project 5: A Wreath That Got Weird

Start with your plain fall wreath. Wrap torn black gauze loosely around it, tuck in a few black cardstock ravens or a large spider, and add a battery candle ring behind it so it glows from within. The wreath you already hung becomes spooky in fifteen minutes without buying a second one.
Level 3: Creepy DIY Halloween Porch Ideas
Creepy porch decorations work by making familiar things feel slightly wrong. A skeleton sitting calmly in your normal porch chair is stranger than any roaring monster. Pick one theme per porch: a single idea reads as deliberate while five themes read as a garage sale.
Project 6: The Skeleton Who Lives Here
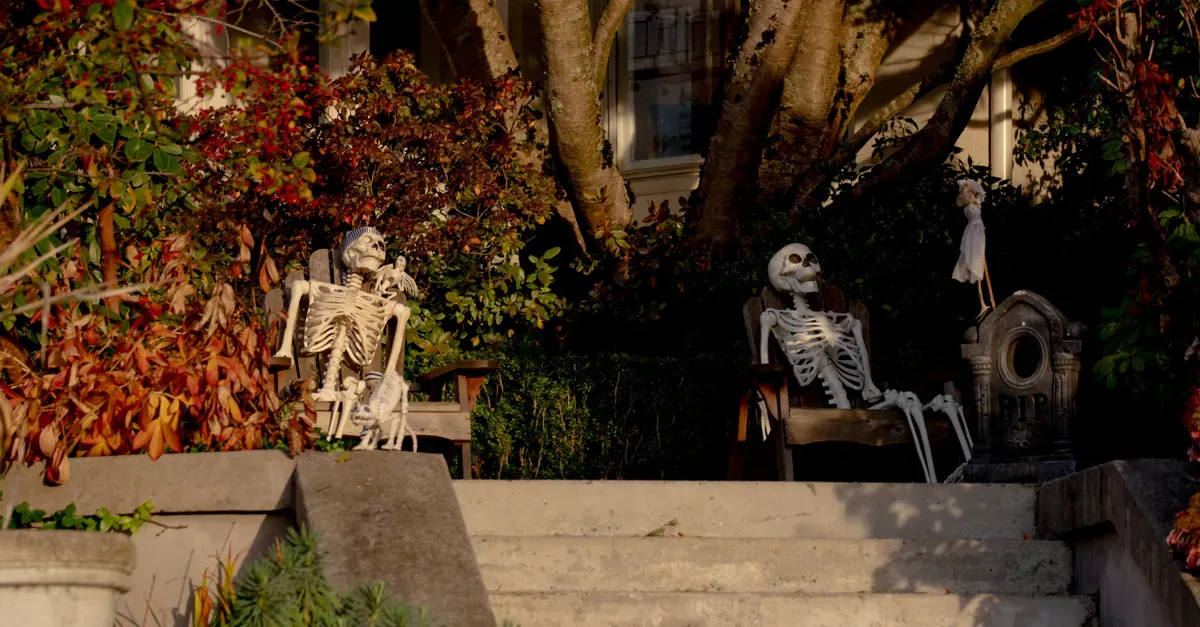
You need: one posable full-size skeleton (reusable every year, usually $30 to $50), old clothes, a porch chair.
Dress the skeleton in last season’s flannel and jeans, seat it in the chair with one arm on the armrest and legs crossed, and set a mug in its hand. An everyday pose is what makes it creepy rather than cheap. Pose it differently each year for returning trick-or-treaters, and zip-tie it to the chair so wind does not deliver it into the flower bed.
Project 7: Skeletal Hands in the Planters

You need: plastic skeletal hands ($5 for a pair), black spray paint optional, existing planters.
Push a skeletal hand into each planter so the fingers appear to be crawling out of the soil, then replant around it. Place one where visitors will not notice it immediately, half-hidden behind foliage near the door. The delayed discovery is the whole scare. They cost almost nothing, store flat, and the planters that held mums all fall can carry this detail through October 31.
Project 8: The Abandoned-House Corner
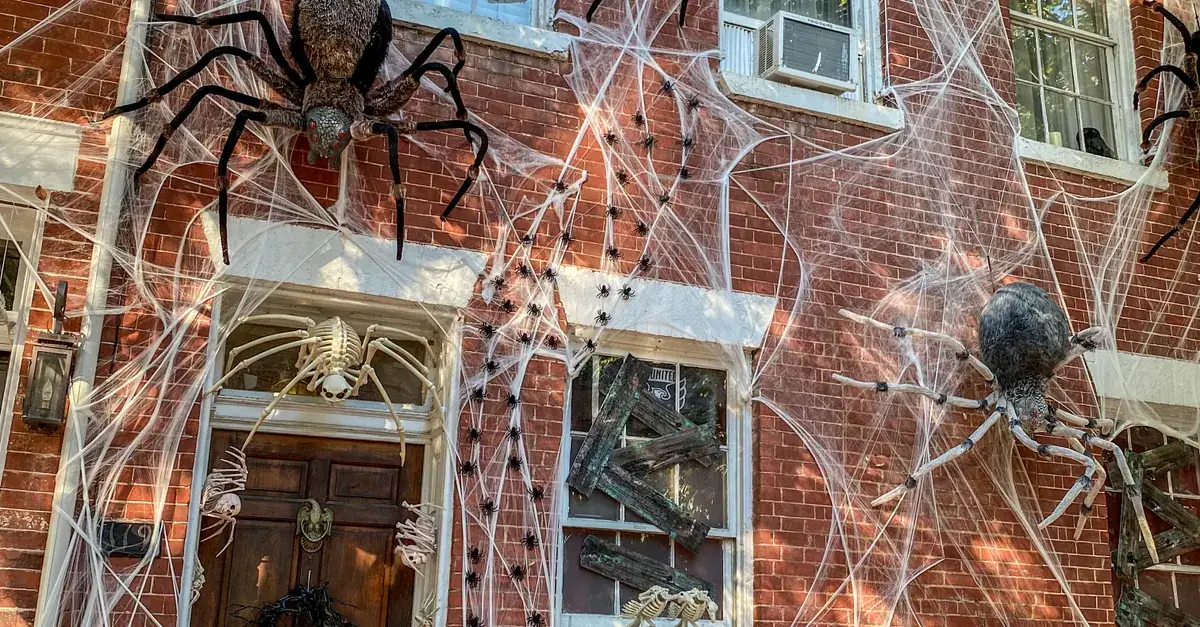
Drape a gray drop cloth over one corner of the porch, lean a cracked terracotta pot on its side, scatter torn fabric, and add two jagged cardboard tombstones with names and dates in marker. Dusty lanterns with low candlelight complete it.
Level 4: Full-Fright DIY Halloween Porch Ideas
Full fright is for the house that wants visitors to hesitate. One large figure, deep shadow, and controlled movement do more than a dozen small props. Anchor everything solidly: nothing should move, fall, or startle someone off a step.
Project 9: The Hooded Figure at the Edge of the Light

You need: a tall PVC or broom-handle frame, old dark clothes stuffed with towels or newspaper, gloves, boots, a plain mask, zip ties.
Build the frame to about six feet, dress it, and stand it just outside the main pool of porch light, off to one side of the path. Keep the face partly shadowed and angled slightly away from visitors, so they register a person-shaped presence before they register a prop. Anchor the base to a porch post or heavy planter. Walk the path yourself after dark, because placement is everything.
Project 10: Window Silhouettes and Shifting Fabric
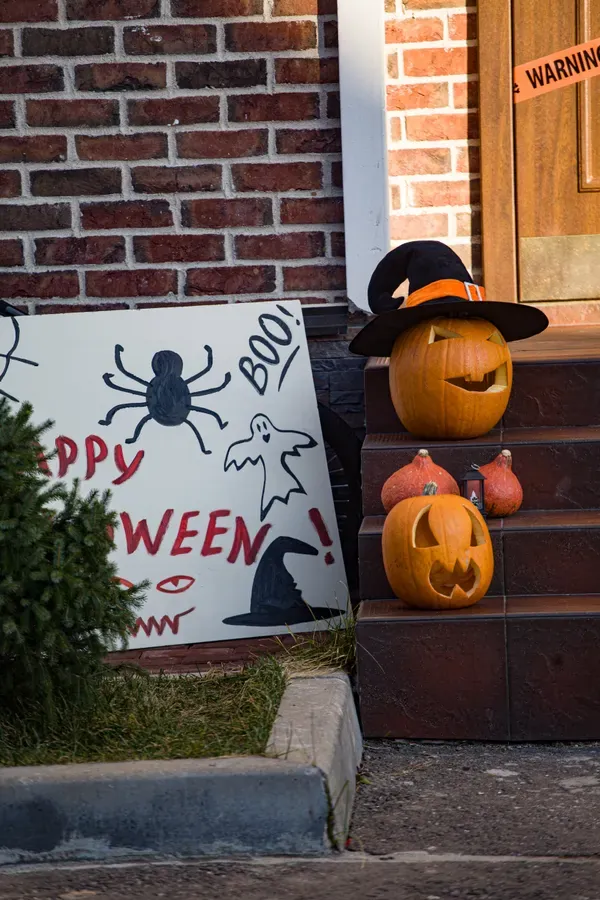
Cut large black silhouettes (a witch profile, a cat, a gnarled tree) from poster board and tape them inside the front windows with the room lights low behind them. Hang one strip of lightweight gray fabric from the porch ceiling where a breeze will catch it. The fabric moves on its own, the silhouettes do not, and the contrast between stillness and motion is what unsettles people. Keep all moving fabric well clear of the walking route.
What to Spend and What to Skip: The Budget Guide
A level 1 cute porch costs $25 to $50 using mostly craft supplies. Level 2 adds $20 to $40 for lighting and cardstock bats. The level 3 skeleton is the one investment, $30 to $50, but it returns every year. The level 4 hooded figure can be built almost free from old clothes and scrap, with the PVC frame around $10.
What to skip: oversized inflatables on a small porch, anything needing an extension cord across the walkway, and “value pack” decoration assortments, which spread a dozen weak props instead of funding two strong ones.
Small Porch? Scale Every Level Down
A porch barely wider than the door still works with tighter editing. Put the single strongest detail around the doorway and use vertical space instead of floor space. A wreath, a hanging ghost, and a bat swarm climbing the wall carry levels 1 and 2 on a stoop. For level 3, one skeletal hand in a tall planter of bare branches gives the whole effect. Level 4 on a small porch means one window silhouette and low lantern light, nothing on the floor. Hanging baskets in fall foliage dress a railing without touching the steps, and this fall hanging basket idea shows how to keep them full through October.
Trick-or-Treat Night Checklist
Walk your porch the way a visitor will, in daylight and again after dark, a few days before Halloween.
- Clear a 36-inch walking path, free of cords, fabric, and props.
- Confirm every step edge is visible; add a battery candle if one is not.
- Replace batteries in all lights on October 30.
- Stake or zip-tie anything tall.
- Keep the candy station lit warm and bright enough for small kids to see faces.
- On November 1, photograph the finished porch before taking it down. That photo is next year’s setup guide; store fabric in zip bags and keep the skeleton in its box.
Frequently Asked Questions
When should I start decorating my porch for Halloween?
Start the autumn base around October 10 so the display grows through the month. Add the Halloween layers during the last two weeks, with the scariest details going up in the final week so they look fresh on trick-or-treat night.
How do I decorate a porch for Halloween on a budget?
Spend on pieces that return every year: lanterns, one skeleton, a wreath base. Build the rest from cardboard, fabric, branches, and things you already own. Placement matters more than price; one well-lit scene beats a porch full of cheap props.
How do I keep Halloween porch decorations from blowing away?
Zip-tie tall figures to porch posts or heavy planters, hang pieces with fishing line instead of tape, and bring lightweight fabric items inside on genuinely stormy nights. Test everything on a windy day, not a calm one.
Are fake candles safe for outdoor Halloween decorations?
Battery candles and LED string lights are the safe choice, especially with fabric, dried leaves, and costumes around. Real candles should never be left unattended outdoors on Halloween night.
Conclusion
The best DIY Halloween porch ideas for every scare level follow the same recipe: a solid autumn base, one clear theme, and lighting that earns its keep, with a safe walking path. Pick your level and build the projects in order, then walk the path after dark before the big night.
5 thoughts on “DIY Halloween Porch Ideas for Every Scare Level (2026)”