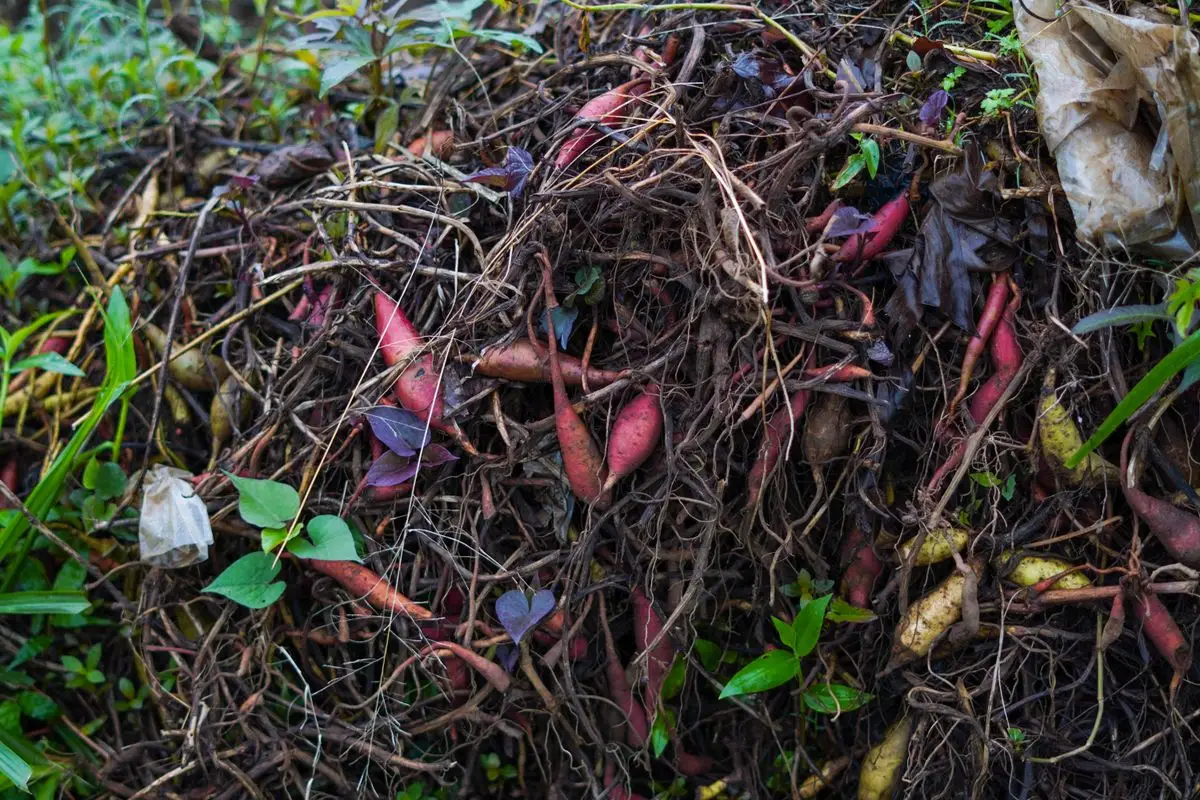
Composting in winter feels like a lost cause the first time you lift the lid and find a frozen, silent pile. It is not. The microbes that break down your kitchen scraps and garden waste do not disappear in cold weather, they simply slow down, and with a few practical changes you can keep them working through most of the season. Here are 12 clear tips, with the pile sizes, ratios, and timing that matter, so you arrive in spring with usable compost.
Winter does not kill a pile, it slows it. Below about 40 degrees Fahrenheit, activity drops sharply, and below freezing the outer layers can stop while the center stays warm. Your job is to protect heat, feed the pile correctly, and avoid mistakes that make it soggy. For planting ideas, see our low maintenance winter garden plants for busy schedules.
1. Build a Pile Big Enough to Hold Its Own Heat
Size is the single biggest factor in winter. A small heap loses heat from every side and freezes solid, while a large heap insulates itself. Aim for at least 3 feet wide, 3 feet deep, and 3 feet tall, about 1 cubic yard. If you can manage 4 feet in each direction, even better. If your bin is smaller than 3 feet, combine two small piles into one before the first hard frost.
2. Get the Carbon to Nitrogen Ratio Right Before the Cold Hits
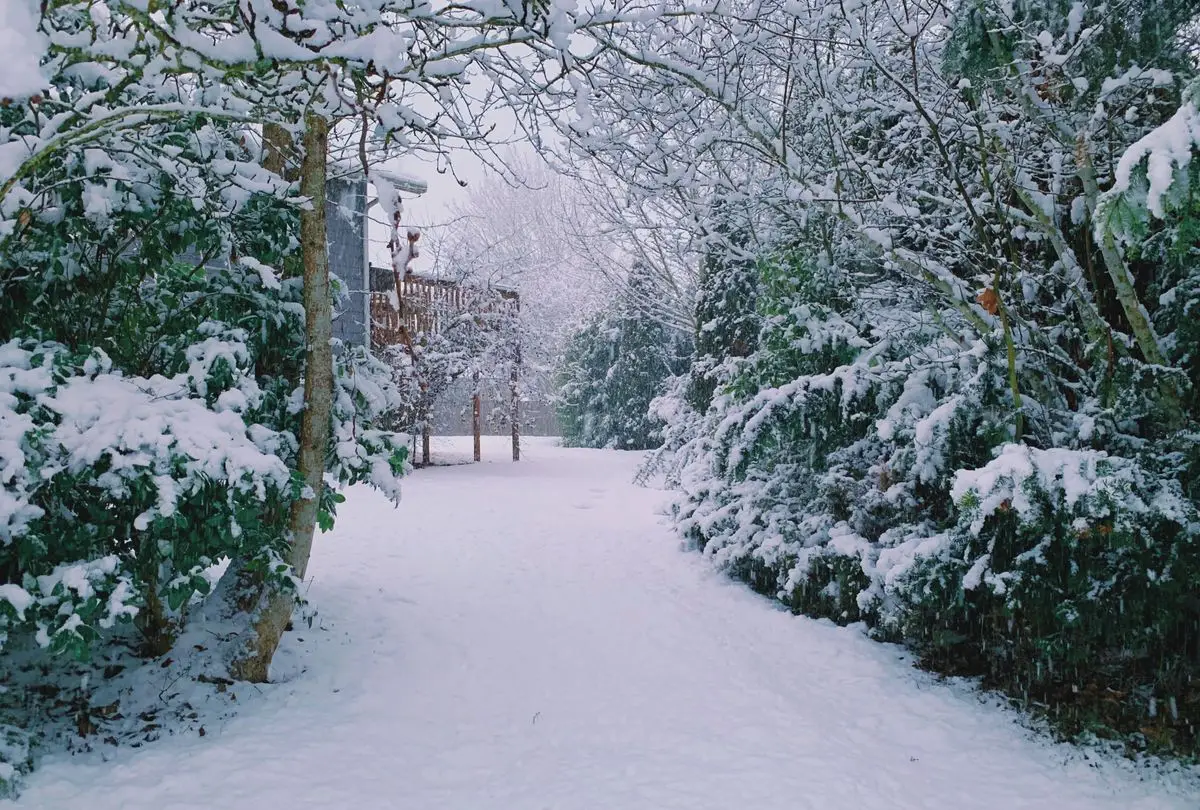
Microbes need carbon rich browns and nitrogen rich greens, at about 30 parts carbon to 1 part nitrogen by weight, or roughly 3 buckets of browns for every 1 bucket of greens. Browns are dry leaves, shredded cardboard, straw, and wood chips. Greens are kitchen scraps, coffee grounds, grass clippings, and manure. In winter, lean toward browns, because wet greens freeze into clumps. Mix materials together rather than layering them in thick slabs.
3. Chop Everything Small So It Breaks Down Faster
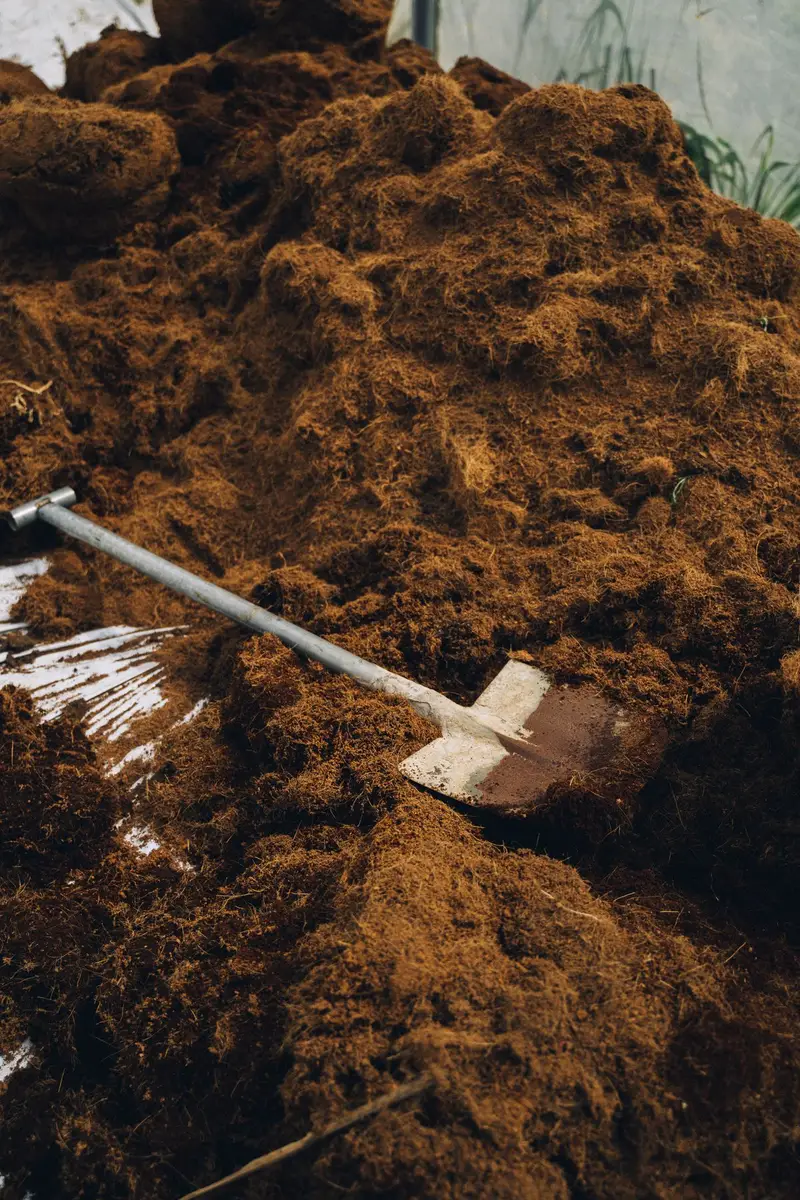
Big pieces are winter’s enemy. A whole cabbage stalk or a thick branch can sit unchanged for months in cold weather, while the same material chopped into 1 to 2 inch pieces breaks down noticeably faster. Spend ten minutes with kitchen shears or a mower over dry leaves before you add them. Tear cardboard into strips no wider than 2 inches, and cut vegetable scraps into small chunks at the counter. Smaller pieces give microbes more surface area to work on, which matters most when cold has already slowed them down.
4. Insulate With Straw, Leaves, or an Old Carpet Layer
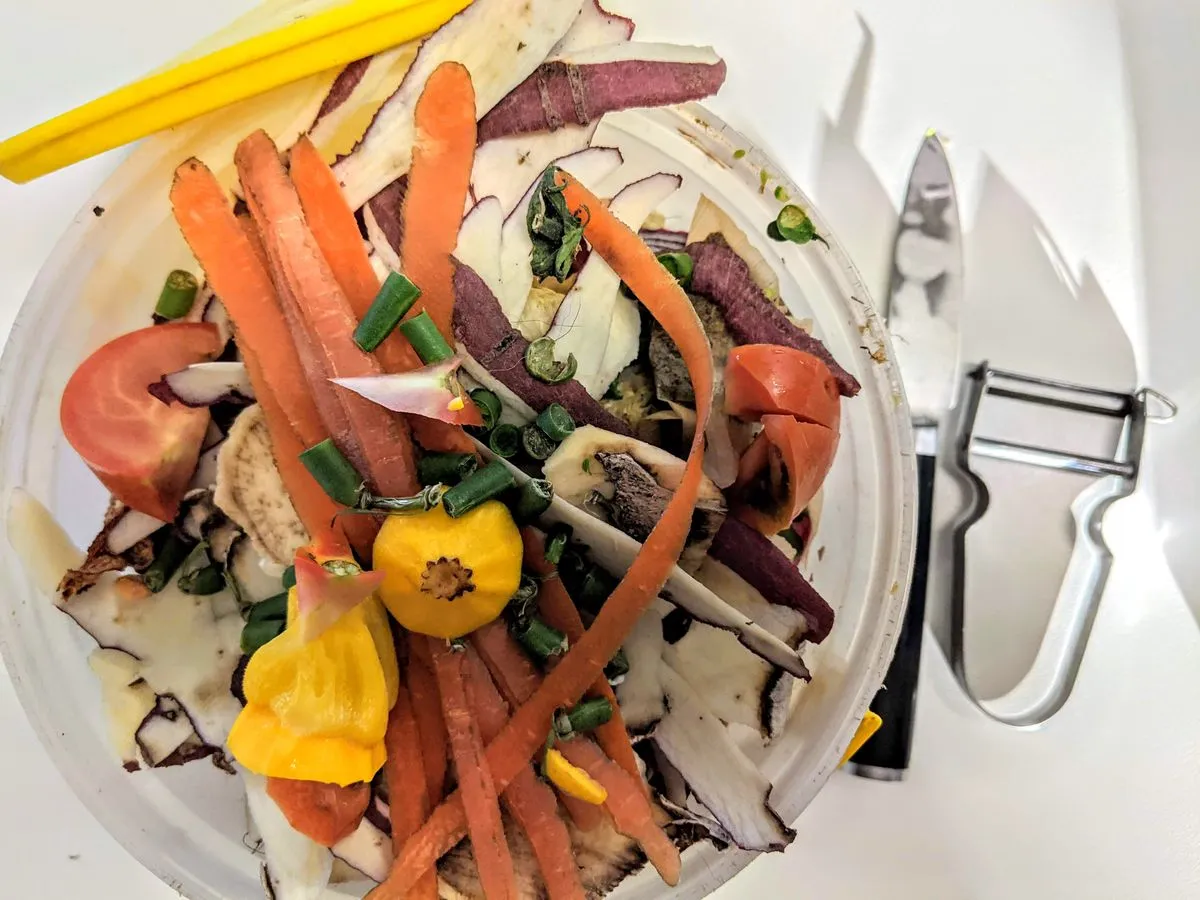
Insulation separates a pile that keeps working from one that freezes solid in December. Pack straw bales around an open pile, or pile dry leaves 12 to 18 inches thick over the top and sides. Old carpet, a thick tarp, or a bin lid all help, but leave a small gap for air. In very cold regions, bubble wrap or rigid foam boards outside the bin can keep the center 10 to 20 degrees warmer than outside air. Check insulation after storms, since wind can strip a leaf blanket in one night.
5. Keep Feeding the Pile, But Always Bury Fresh Scraps
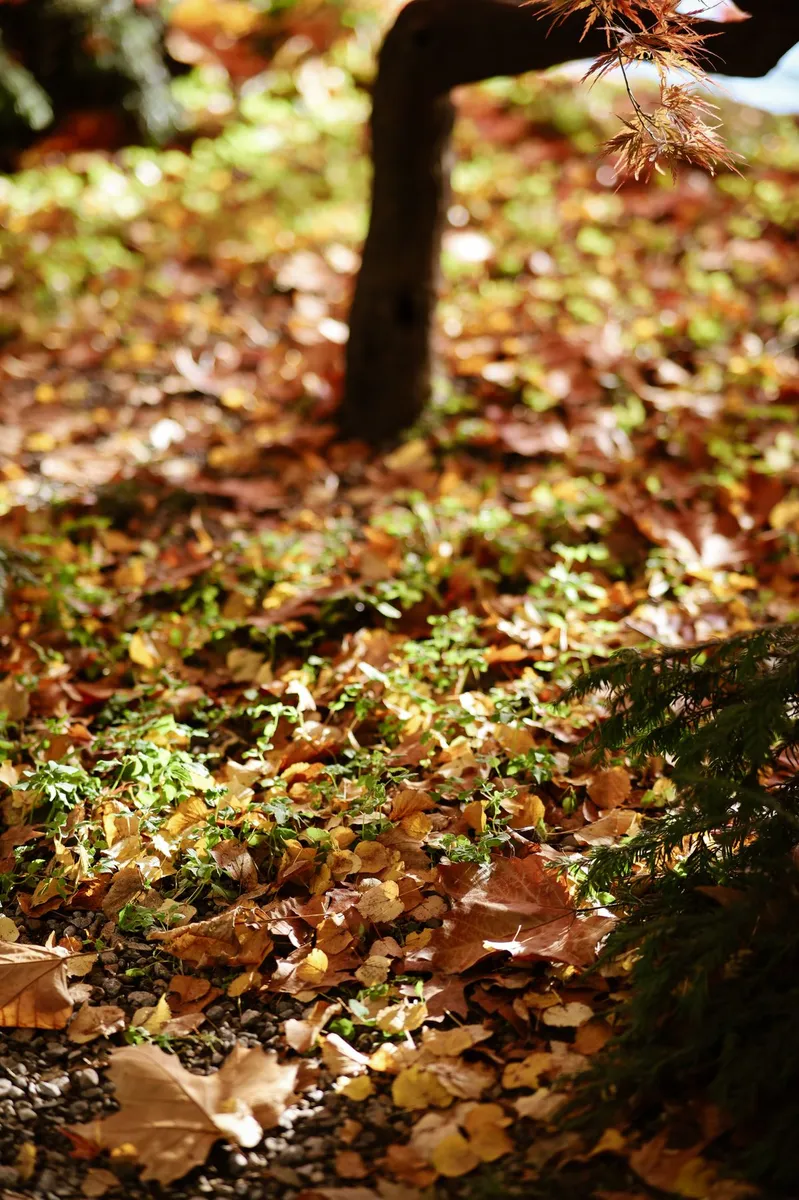
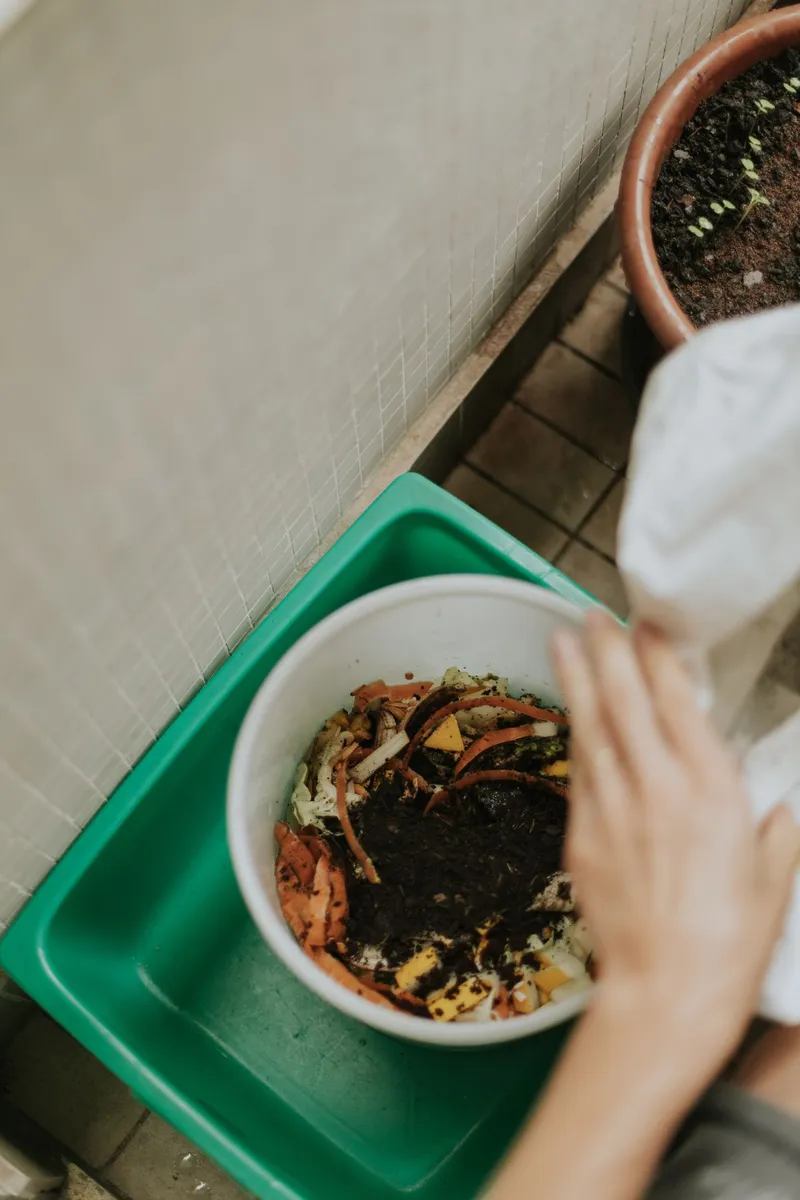
Do not stop adding kitchen scraps in winter. A pile with no new food slowly starves. Pull back the top layer, dig a pocket 6 to 8 inches deep in the center, drop the scraps in, and cover them with at least 4 inches of browns. Burying scraps keeps smells down, discourages rats and raccoons, and puts fresh nitrogen where it is warmest. Keep a lidded bucket by the back door so you can make one quick trip a day.

6. Stop Adding These Things When Freezes Arrive
Some materials that are fine in summer cause trouble in winter. Stop adding large amounts of wet grass clippings, which mat together and turn slimy when they cannot dry. Stop adding meat, dairy, fats, and cooked food in an open pile at any time, but especially in winter, because pests are hungrier and the pile is too slow to break them down safely. Stop adding whole pumpkins, large woody stems, and thick corn stalks unless you chop them first. When in doubt in a freeze, add browns and wait.
7. Turn Less Often, and Turn on the Mildest Day You Can
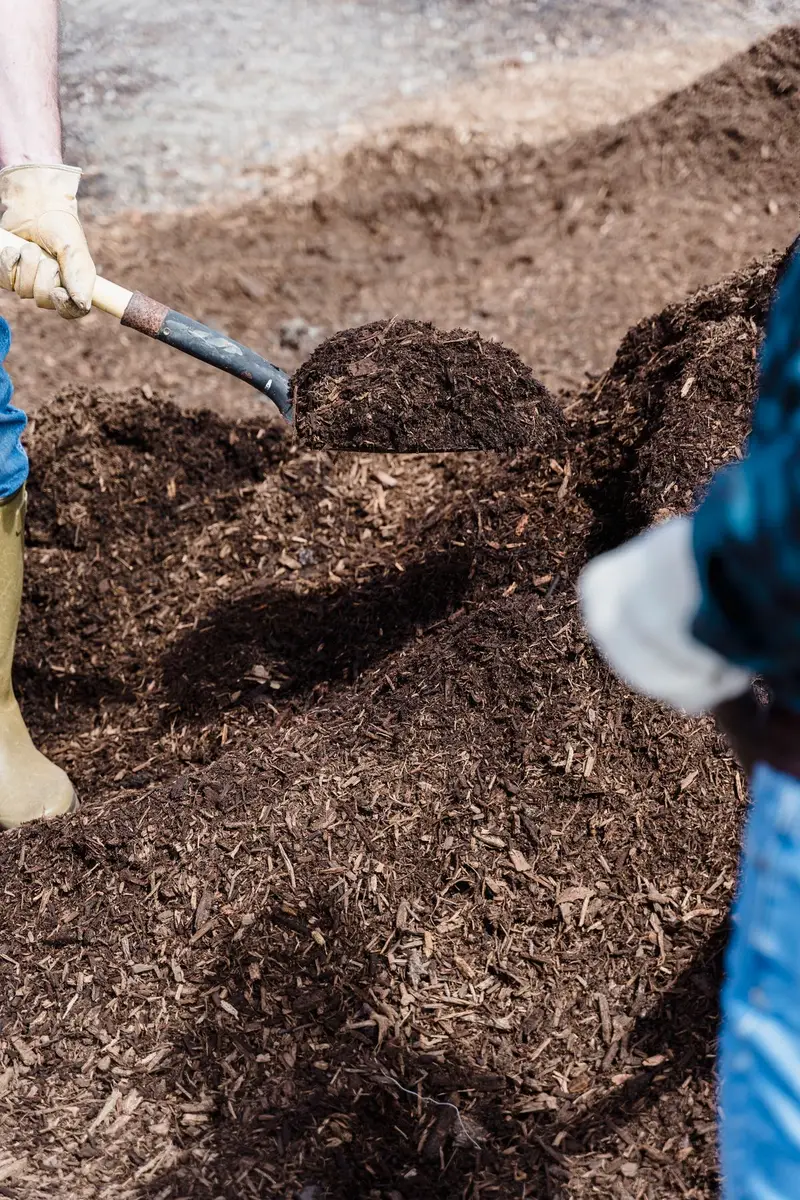
In summer, turning every 7 to 10 days speeds things up. In winter, turning too often dumps the heat you have worked hard to keep. Turn once every 3 to 4 weeks instead, on the mildest, driest day in that window. Work quickly: move outer cool material to the center, move warm center material outward, and rebuild the pile within 20 to 30 minutes. If it is frozen solid, do not force it. Add browns on top and wait for a thaw.
8. Manage Moisture Like a Wrung Out Sponge
Winter moisture is tricky because rain and snow melt add water while cold air stops evaporation. A pile that is too wet goes airless and smells, while a dry pile stalls. Squeeze a handful from the center: it should feel like a wrung out sponge, damp but with no drips. If water runs out, add dry cardboard or straw. If it feels dry, add 1 to 2 gallons for a 3 foot pile on a day above freezing. A tarp or lid keeps snow off. For plants needing winter protection, see our lavender in winter guide.
9. Composting in Winter: How to Tell If Your Pile Is Still Alive
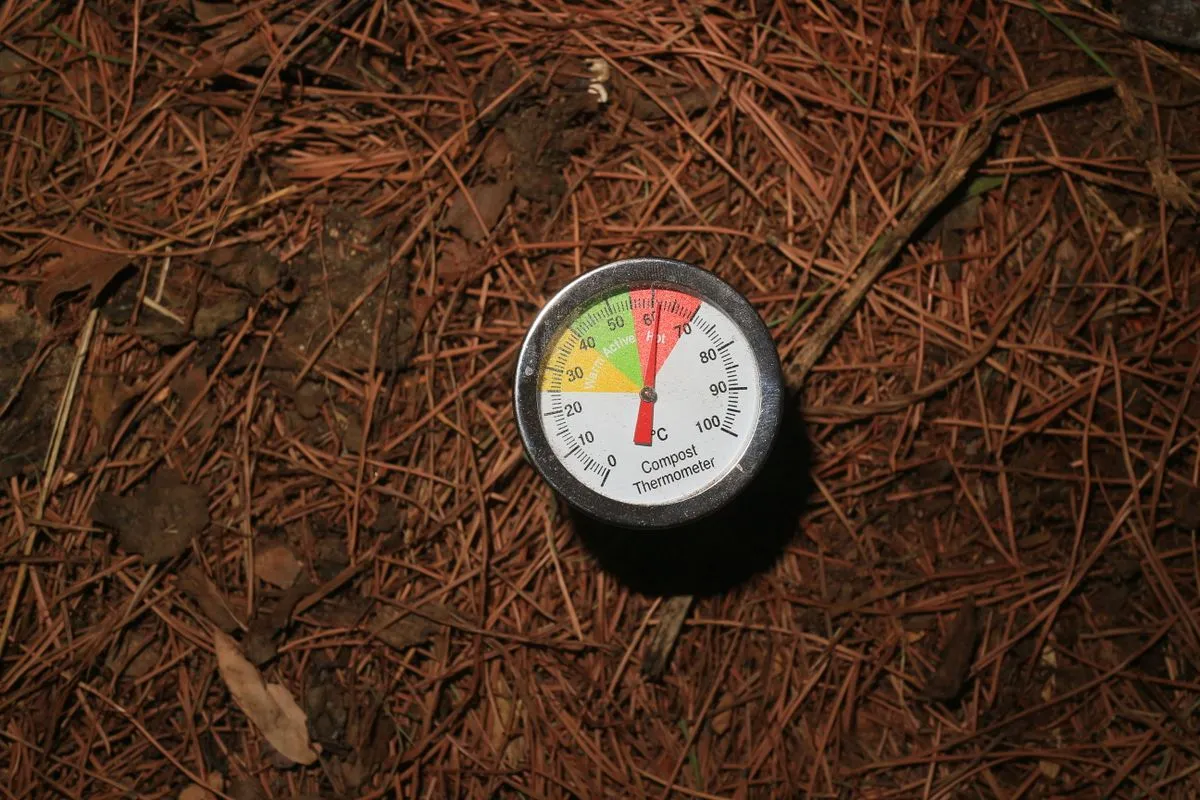
A quiet pile is not necessarily a dead pile. Push a long handled compost thermometer into the center and read it after 5 minutes. A reading of 90 to 130 degrees Fahrenheit means active hot composting. A reading of 40 to 90 degrees means slow but living activity. Below 40 degrees, the pile is mostly dormant, which is normal in a hard freeze. Other signs of life are steam on a cold morning, warmth 6 inches in, and a sweet earthy smell. If it smells sour, add browns and air. If it smells like ammonia, it has too much nitrogen, so add browns and pause greens for a week.
10. Use a Hot Core Trick: A Bucket of Finished Compost
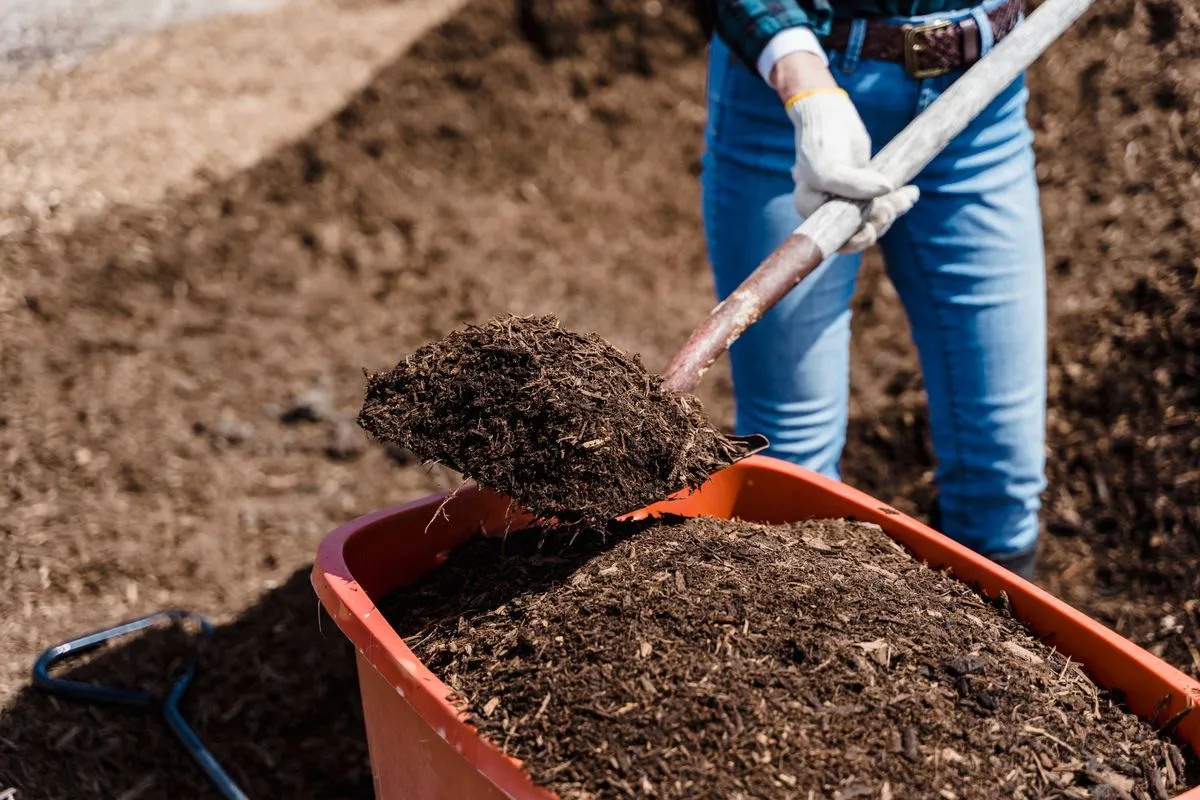
If you have finished compost from autumn, use it as a starter. Mix one 5 gallon bucket of finished compost into the center of your winter pile when you build or turn it. Finished compost is full of the microbes you need, and it inoculates new material far better than a shop bought activator in most home piles. Fresh horse or poultry manure, about one bucket per cubic yard, works the same way, but bury it well and use it sparingly.
11. Keep a Backup Method for the Deepest Cold
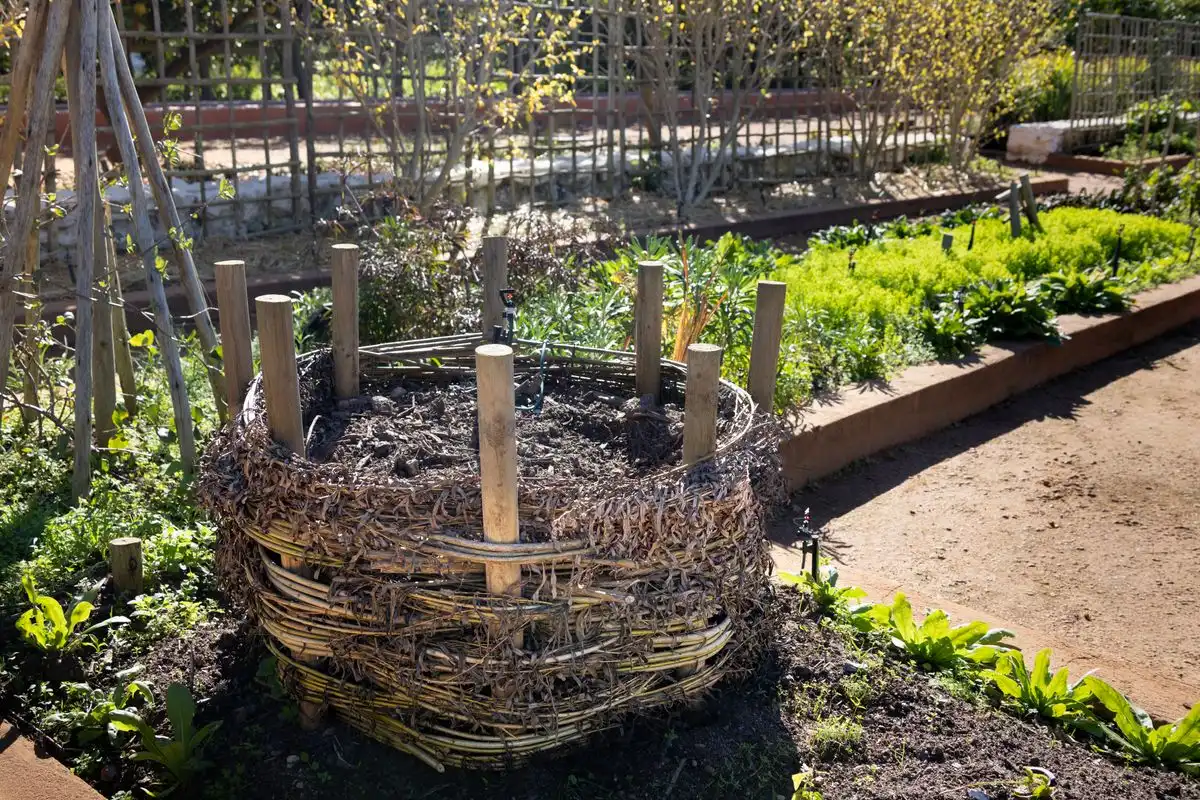
When temperatures stay below freezing for weeks, even a good pile may pause, and that is fine. Keep composting with a backup method. A trench, dug 12 to 15 inches deep and filled halfway with scraps, then covered with soil, breaks down slowly and is ready to plant over in spring after at least 3 months. An indoor worm bin in a garage or basement handles a small household’s scraps if kept above 55 degrees. A bokashi bucket ferments scraps indoors in about 2 weeks for burial at thaw.
12. Plan Your Spring Restart Now, Not in March
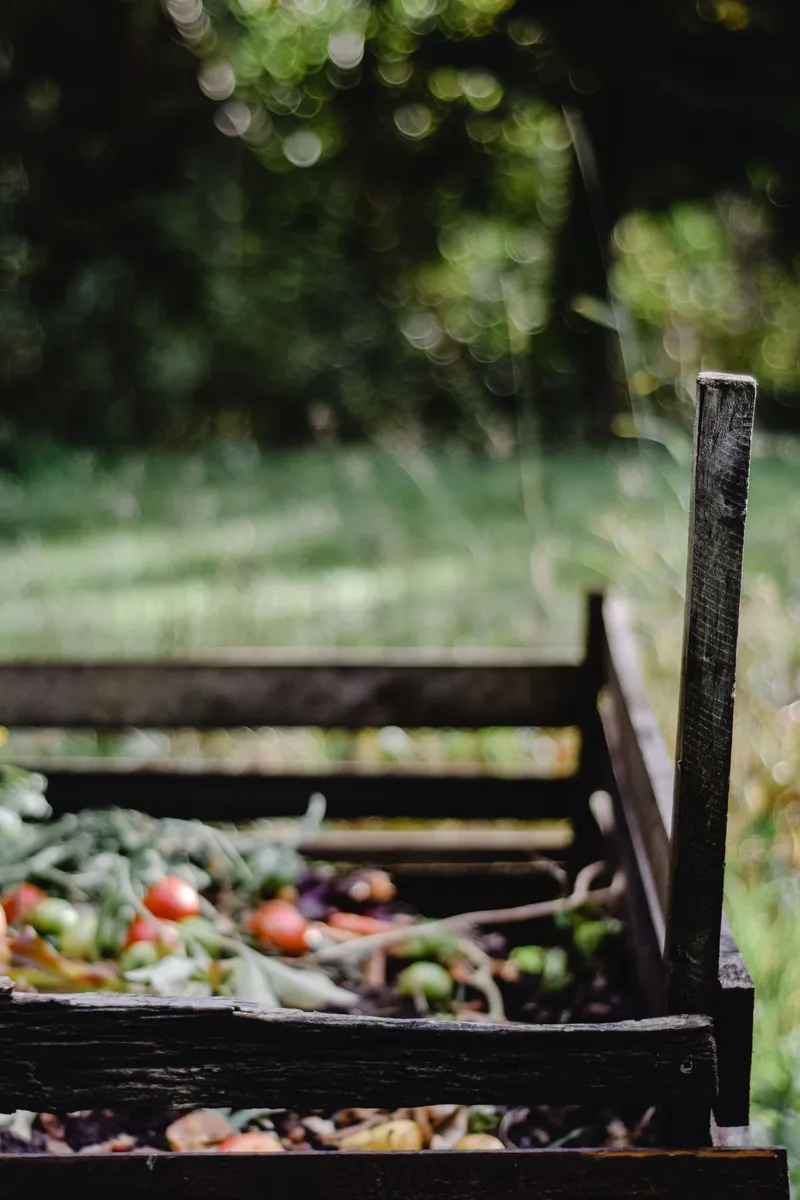
The best spring compost comes from a winter pile prepared for it. In late February or early March, on the first mild week, turn the whole pile, add a bucket of greens and water if dry, and rebuild it to at least 3 feet tall. Within 2 to 3 weeks of mild weather, an insulated pile should heat up again. Sift finished material through a half inch screen, return large pieces to the pile, and spread dark, crumbly compost 1 to 2 inches thick over beds. The same restart works on a balcony scale, as in our winter garden balcony ideas.

Troubleshooting: Fix the Most Common Winter Compost Problems
Frozen solid pile: leave it alone and add extra leaves or straw on top. It will restart from the center when temperatures rise, and forcing it apart only loses more heat.
Soggy and smelly pile: add 2 to 3 buckets of dry browns, turn lightly on a dry day, and cover the pile so snow and rain stay off. The smell should fade within a week if air returns.
Pile not heating in mild weather: it is usually too small, too dry, or short of nitrogen. Combine piles to reach 3 feet, add water until it feels like a wrung out sponge, and mix in a bucket of kitchen scraps or manure.
Finished compost frozen in a heap: cover it with a tarp and straw so you can still scoop from it. If it is already frozen solid, chip off what you need and let it thaw in a bucket indoors before spreading.
Frequently Asked Questions
Can you start composting in winter from scratch?
Yes. Start with a pile at least 3 feet in each direction, mix 3 parts browns to 1 part greens, chop everything small, and insulate with leaves or straw. It will be slower than a summer start, but by spring you will have a working pile.
Should I cover my compost pile in winter?
Yes, in most climates. A tarp, lid, or thick leaf layer keeps snow and excess rain off. Leave a small air gap so the pile can breathe, and lift the cover on mild days to check moisture.
How often should I turn compost in winter?
Once every 3 to 4 weeks is enough, on the mildest day available. Turning more often loses heat. If the pile is frozen solid, skip turning entirely until a thaw.
What temperature should a winter compost pile reach?
Active piles reach 90 to 130 degrees Fahrenheit in the center. In winter, 40 to 90 degrees is normal and still means the pile is alive. Below 40 degrees it is dormant, not dead.
Can I compost in winter without a bin?
Yes. An open heap at least 3 feet tall works if you insulate it with straw bales or leaves and cover the top. A trench also works well in winter, since soil insulates the scraps. Bins simply make insulation and pest control easier.
Conclusion
Composting in winter is less about fighting the cold and more about working with it. Build the pile big, feed it the right mix, insulate it well, turn it gently, and keep a backup method for the coldest weeks. Do those five things and your pile will be ready to feed your spring garden weeks earlier than a pile started in March. Start with one change this week, and let the pile do the rest.