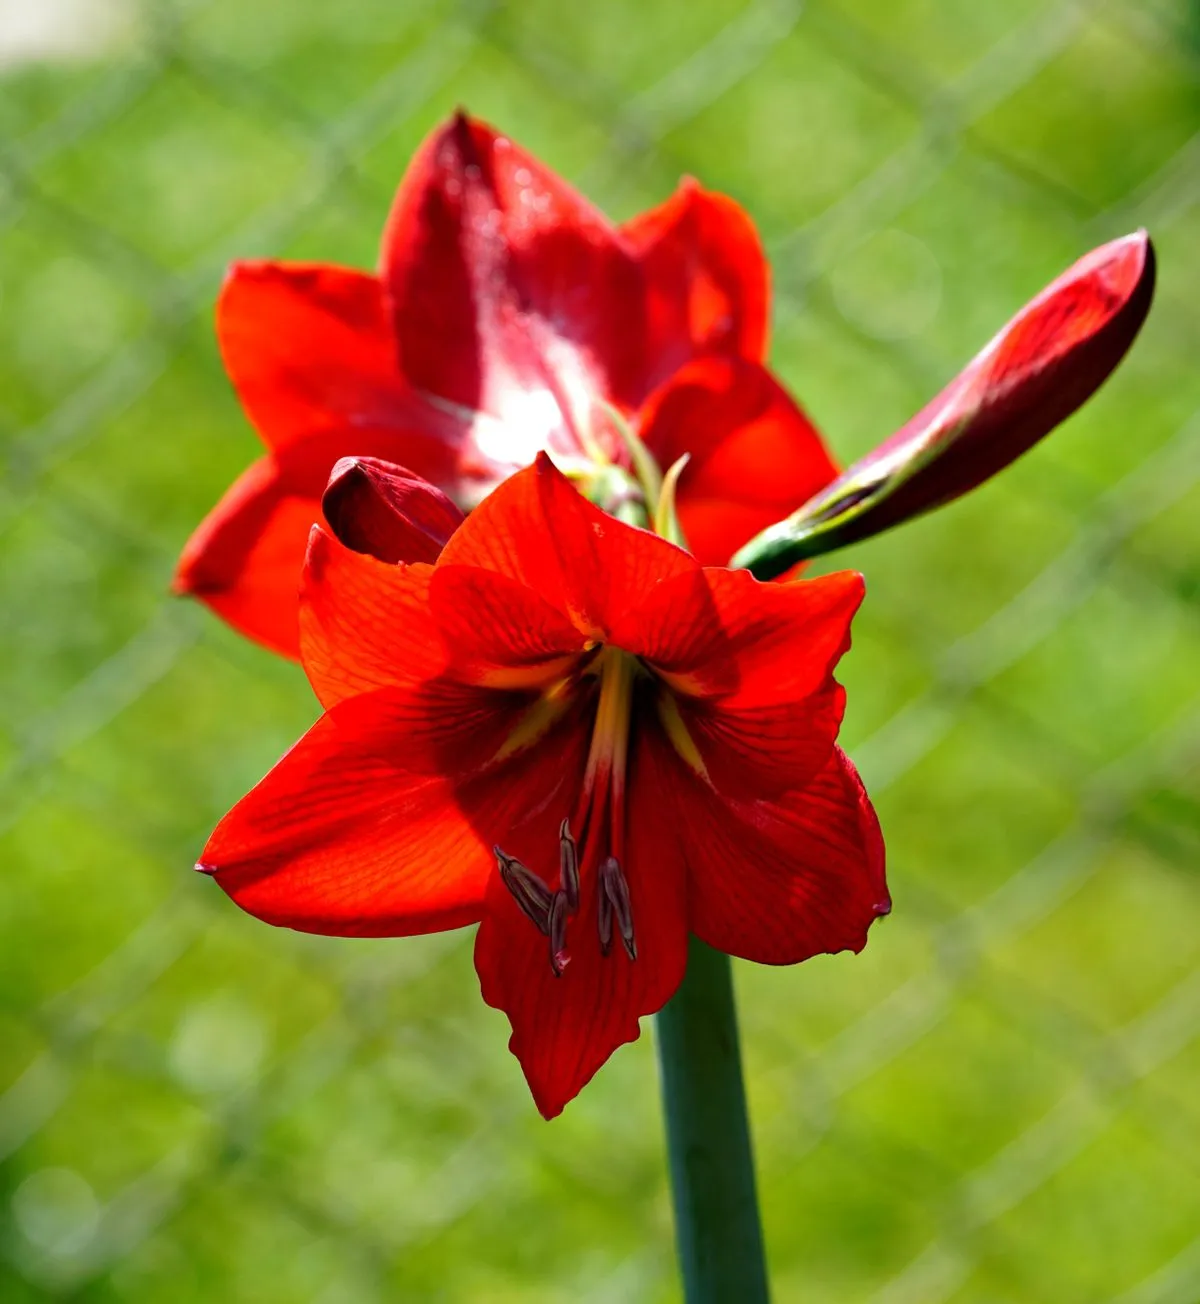
Planting amaryllis bulbs in November is one of the easiest ways to guarantee big, showy flowers for Christmas. A good bulb needs almost nothing from you at first: a pot, some fresh compost, a little water, and a warm windowsill. Six to eight weeks later you get tall stems topped with trumpet flowers in red, pink, white, or striped petals. This guide gives you 15 practical tips, from picking a firm bulb to getting it to bloom again next year.
The timing is the whole trick. Amaryllis bulbs sold in autumn are ready to grow, and planting in early to mid November usually brings flowers in late December or early January. Plant too early and the show is over before Christmas; plant too late and you get leaves with no flowers for the holiday table. Follow the steps below and you will land right in the festive window.
1. Pick a Firm, Fat Bulb for Planting Amaryllis Bulbs
Start at the garden centre, not the checkout queue. A good amaryllis bulb feels heavy for its size, firm all the way around, and about the size of a tennis ball or larger. Avoid bulbs that feel soft, light, or hollow, and skip any with dark mouldy patches or a sour smell. Bigger bulbs carry more stored food, so they usually send up two stems instead of one. Pay a little more for a large, firm bulb and you will see the difference in flower size.
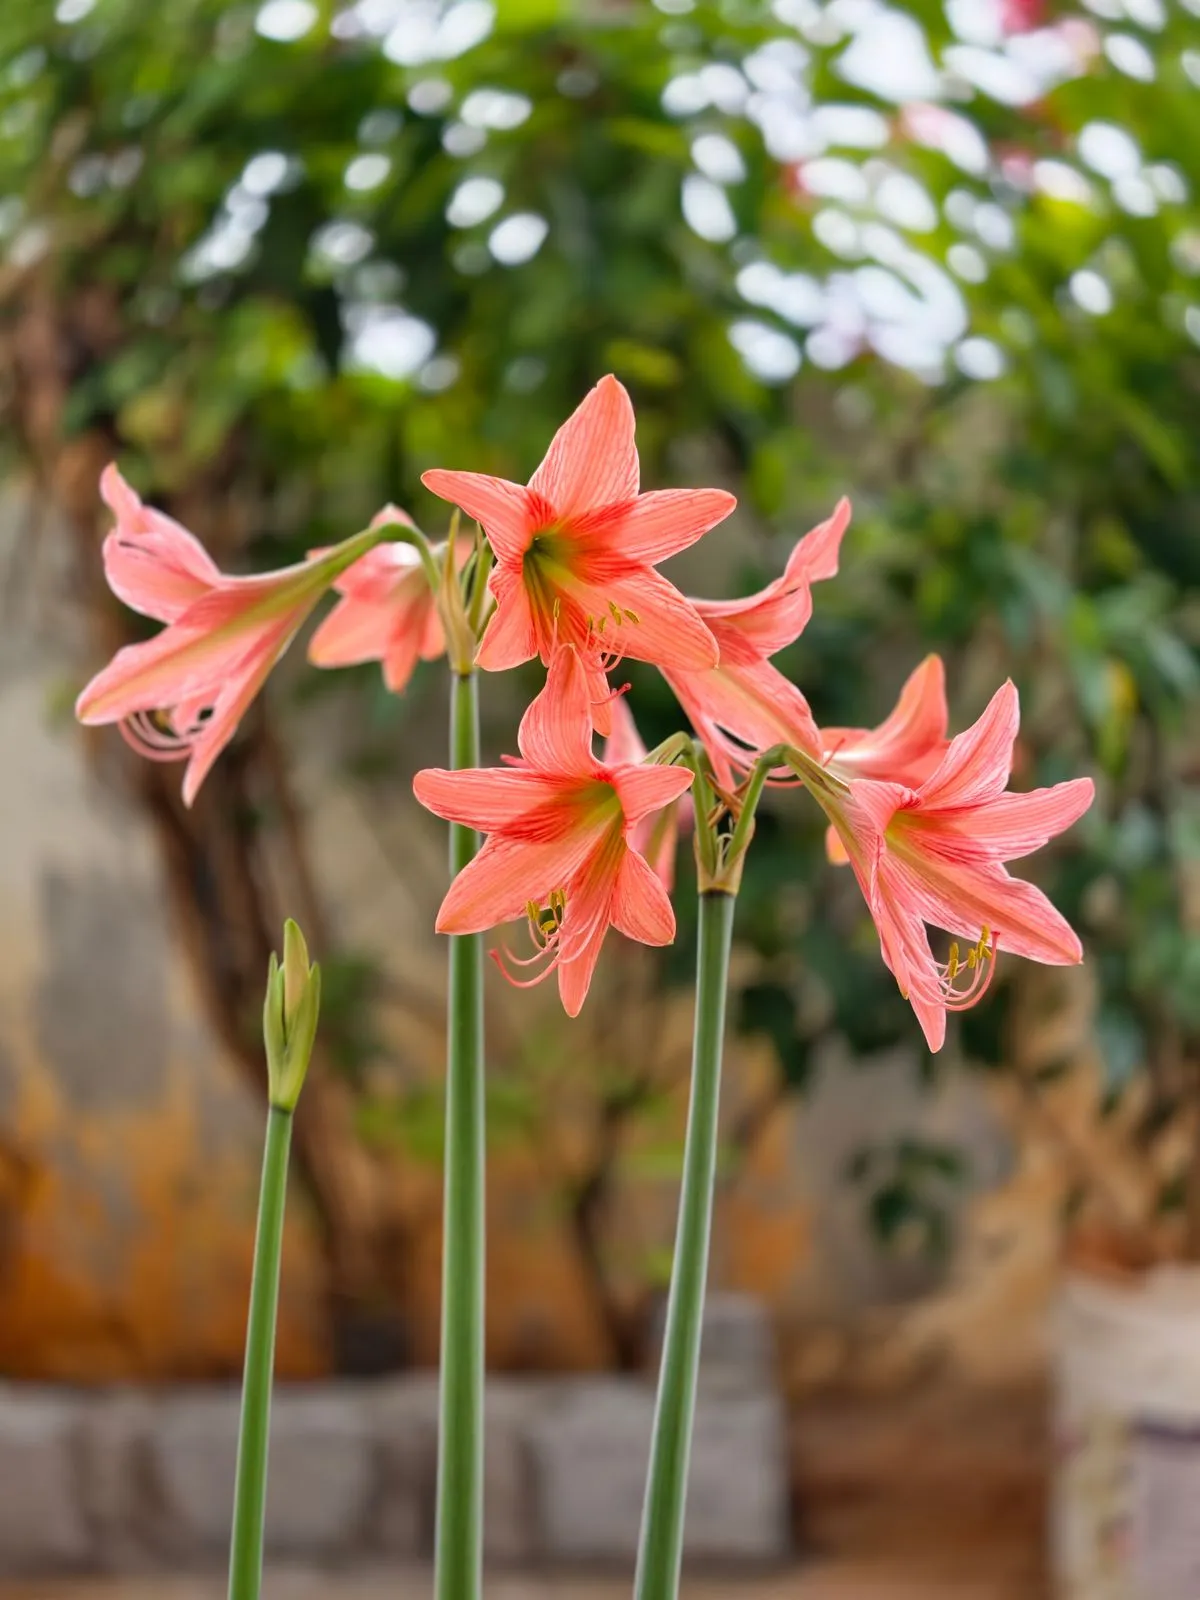
2. Choose a Pot Only Slightly Wider Than the Bulb
Amaryllis likes to feel snug. Pick a pot just 2 to 3 centimetres wider than the bulb on each side, with at least one drainage hole in the base. A pot that is too large holds wet compost around the bulb and invites rot, while a tight pot pushes the plant to flower rather than make leaves. Heavy clay or ceramic pots are best, because a tall flowering stem can topple a light plastic pot. Set the pot on a saucer so you can water from below if you prefer.
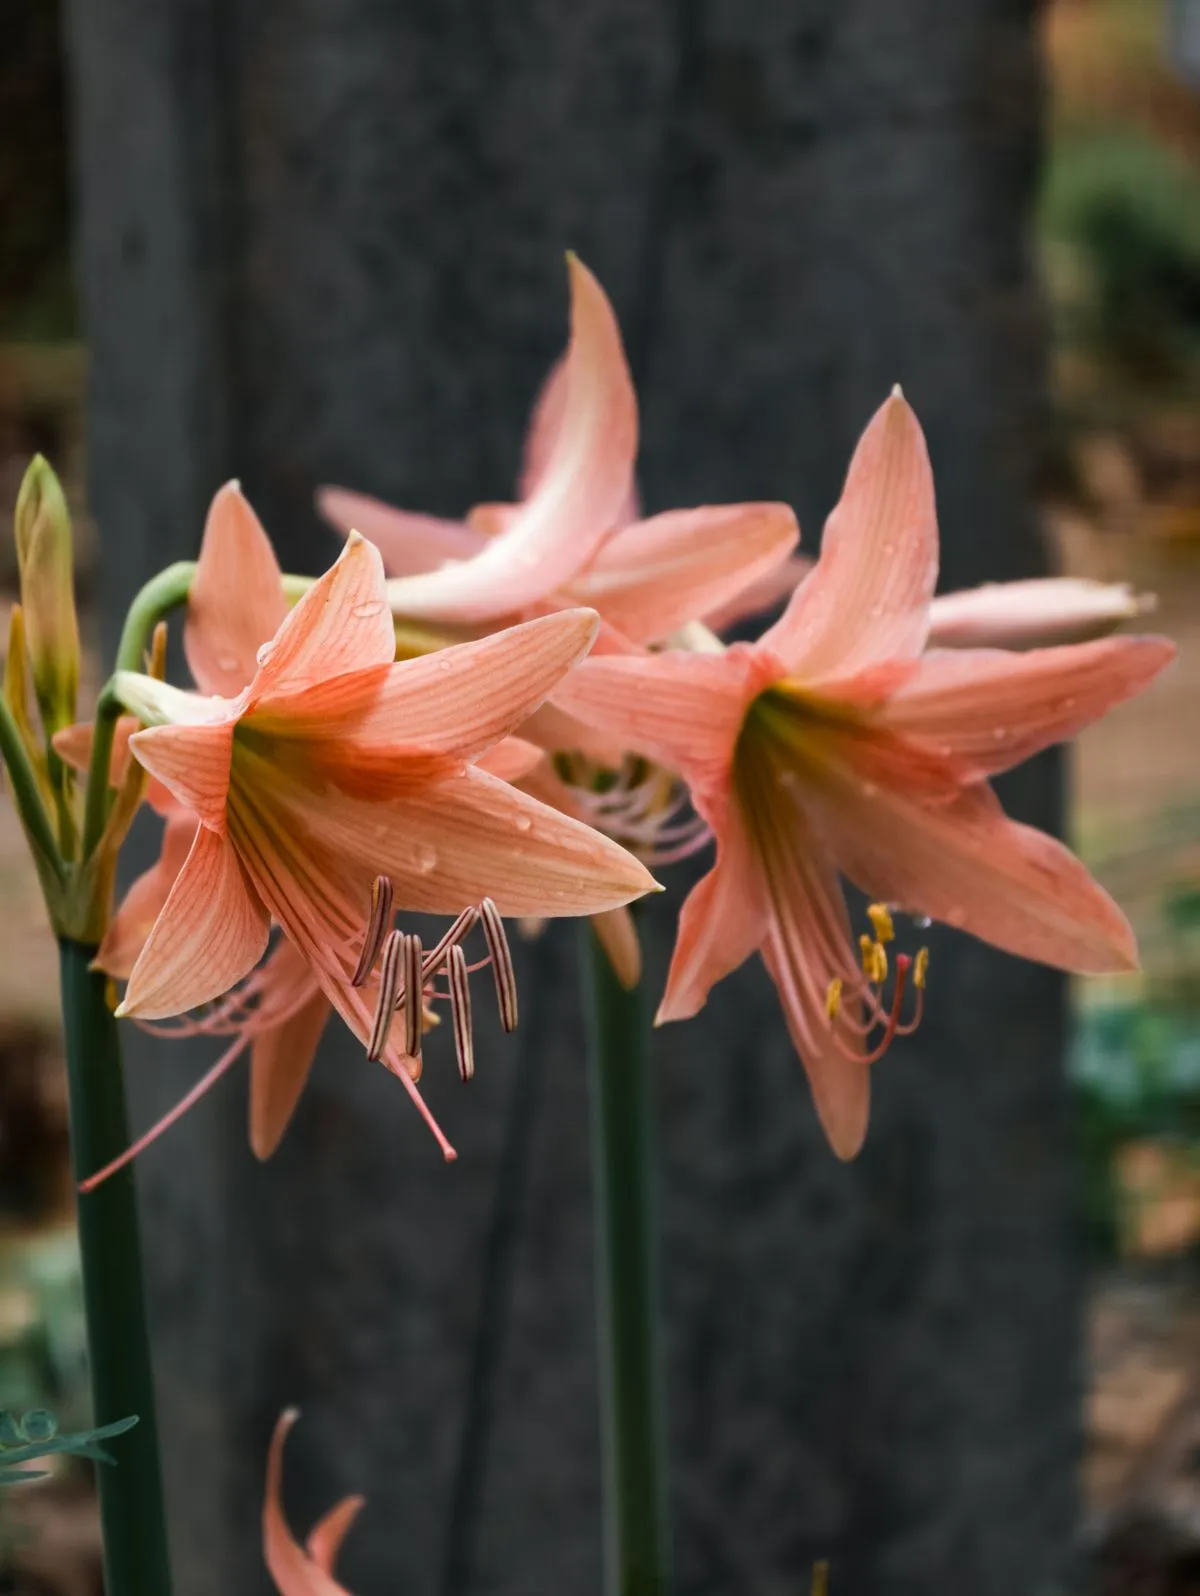
3. Use Fresh, Free Draining Compost
Never reuse old compost from a summer pot. Fill the pot with fresh multipurpose compost mixed with a handful of perlite or coarse grit, about three parts compost to one part grit. This mix holds enough moisture for roots but drains fast, which matters because amaryllis bulbs rot in soggy soil. Fill the pot two thirds full, set the bulb on top, then fill around it, leaving the top third of the bulb above the soil line. Firm gently, but do not pack it hard.
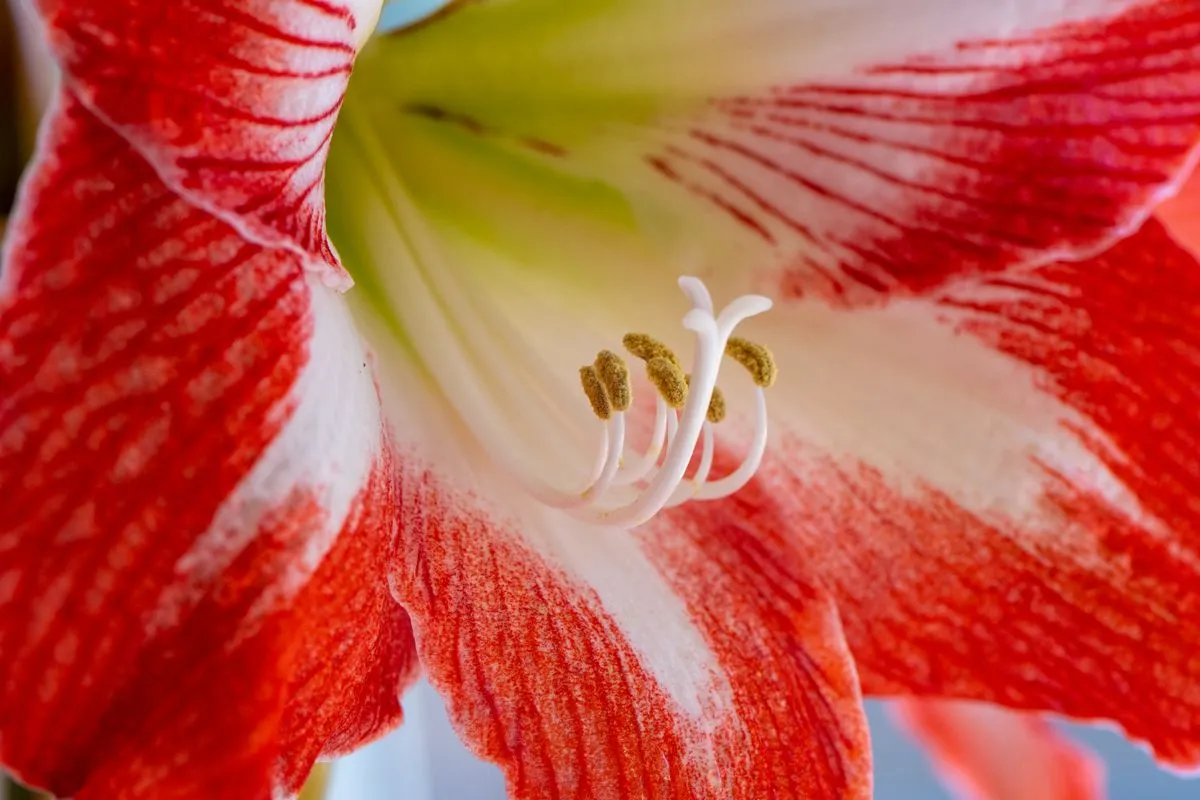
4. Plant With the Neck Above the Soil
The single most common beginner mistake is burying the bulb. An amaryllis bulb should sit with its shoulders and neck exposed, only the bottom two thirds buried. Planted too deep, the bulb stays wet, rots, or produces leaves with no flowers. If you have already planted one too deep, lift it now, shake off the wet compost, and replant at the right depth. The exposed neck also lets you check the bulb stays firm and dry through the first weeks.
5. Water Once, Then Wait for Growth
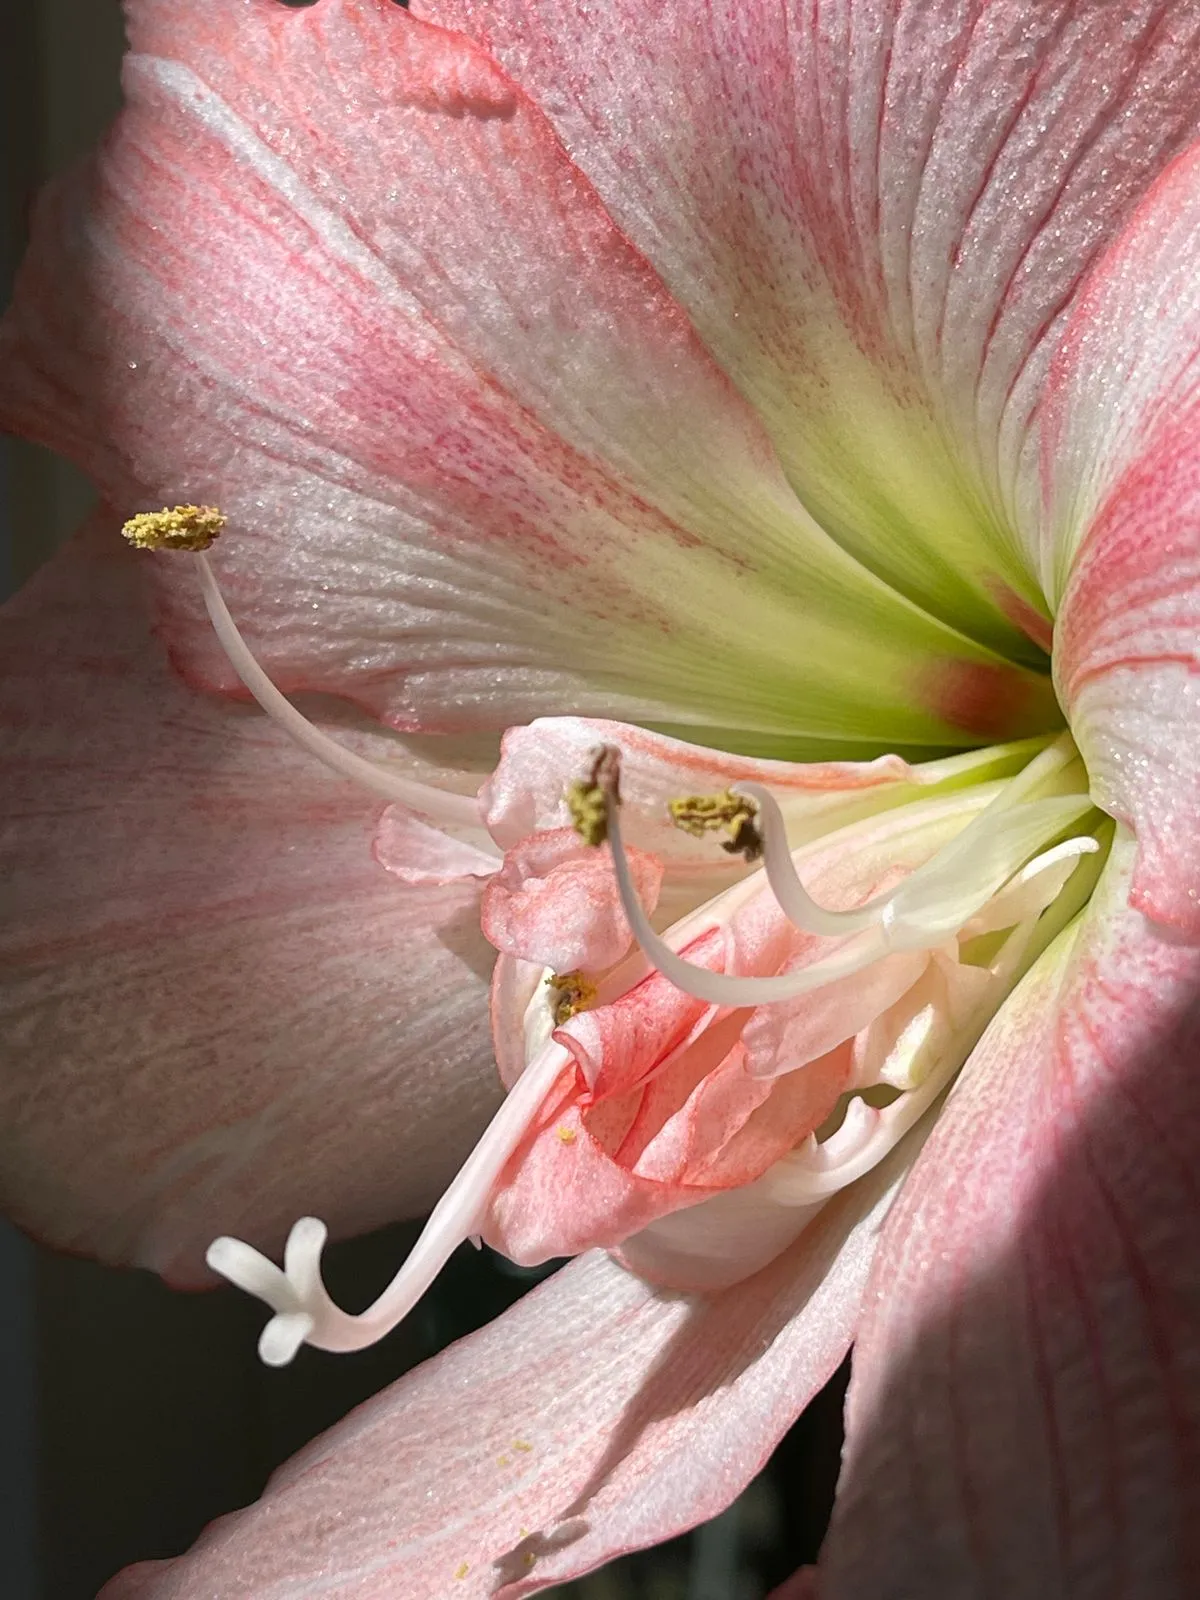
After planting, water thoroughly until a little runs from the drainage hole, then stop. Do not water again until you see a green shoot or a flower bud emerging, which usually takes two to three weeks. The bulb already holds everything it needs to start, and extra water before growth begins is the fastest route to rot. Once growth appears, water only when the top 2 centimetres of compost feel dry. Little and often beats a weekly soak.
6. Give It Warmth to Wake Up
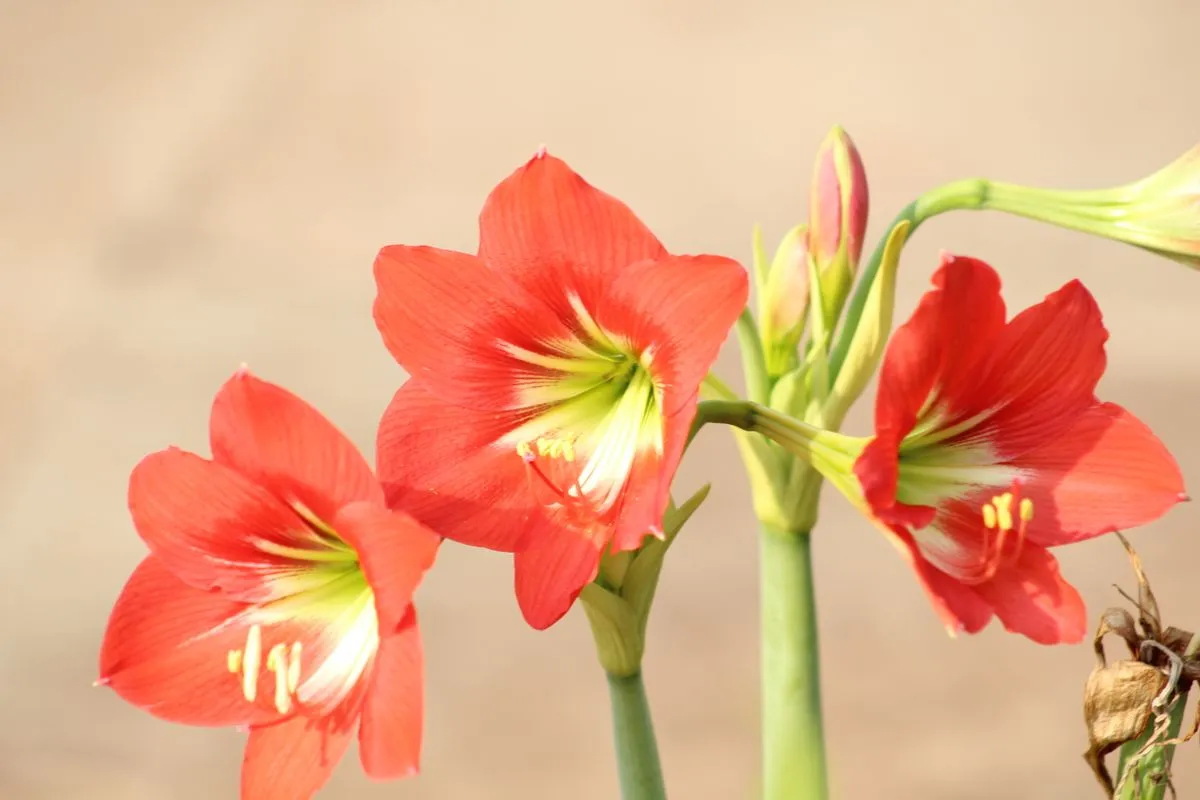
Amaryllis bulbs wake up fastest at 20 to 23 degrees Celsius, so a warm room or a heated windowsill is ideal for the first few weeks. A cold porch or unheated garage will stall growth, and the bulb may sit dormant until spring. Once the stem is growing well, move the pot to a slightly cooler spot, around 16 to 18 degrees, which makes the flowers last longer. Keep the plant away from radiators, which dry the air and shorten bloom life.
7. Turn the Pot Every Few Days
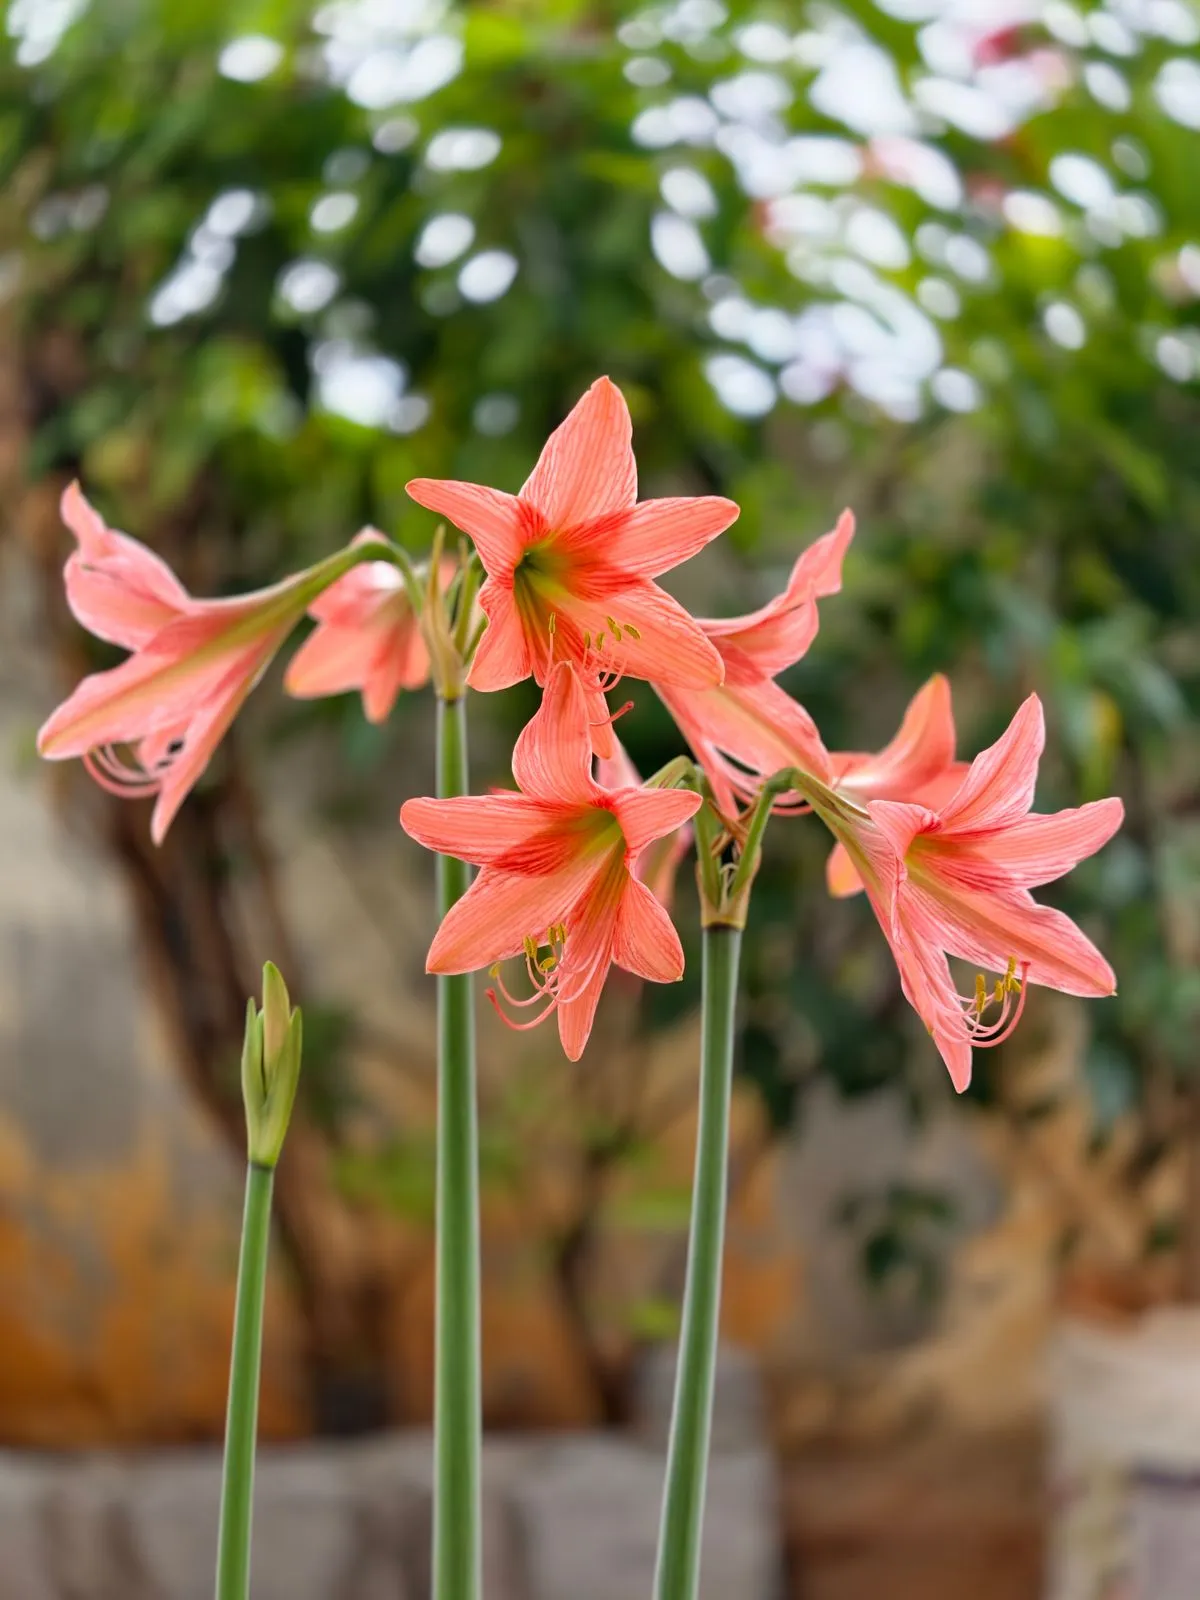
A growing amaryllis stem leans hard toward the light, and left alone it will bend sideways and may snap under the weight of its flowers. Turn the pot a quarter turn every two or three days so the stem grows straight. This takes ten seconds and makes a visible difference. Once flowers open, keep turning, but more gently, so every bloom faces the room rather than the window. A straight stem also looks far better in photos and on the table.
8. Stake Tall Stems Before They Lean
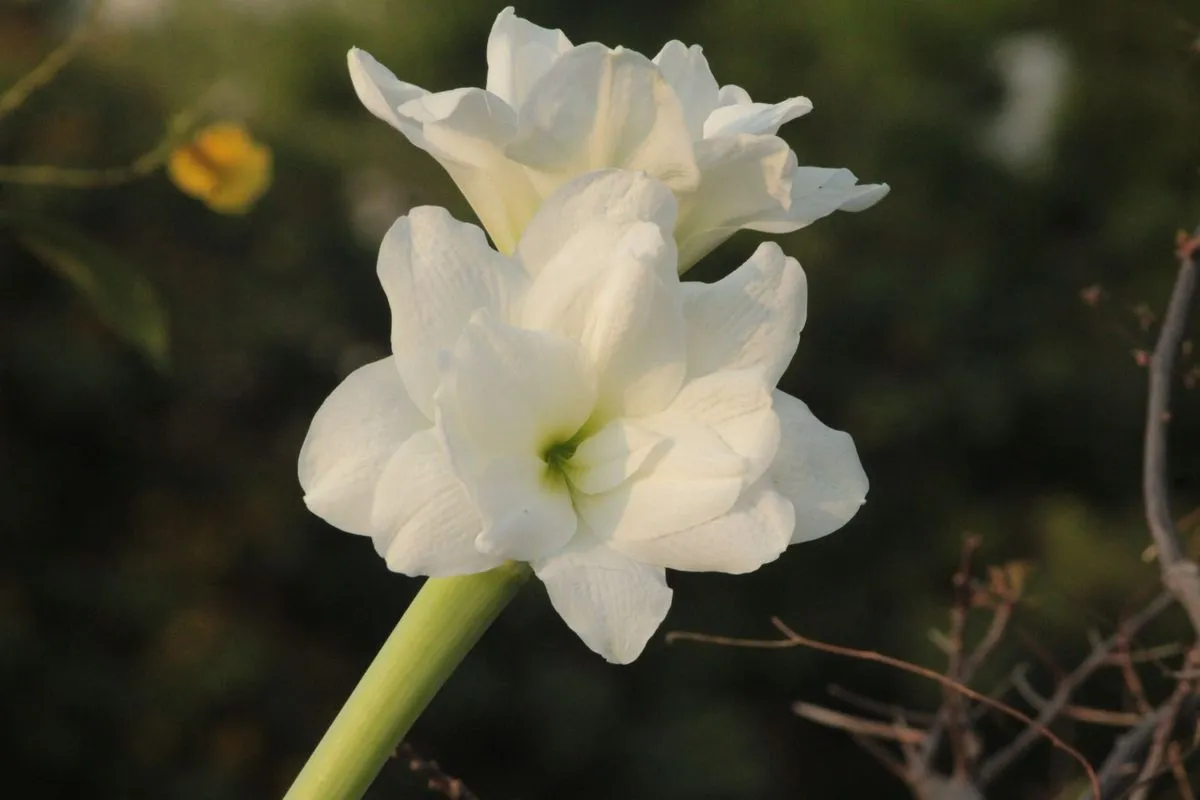
Insert a slim bamboo cane beside the stem as soon as it reaches about 30 centimetres, and tie it loosely with soft twine in two places. Do not wait until the stem is already leaning, because straightening a bent stem can crack it. Each flower head is heavy, and a stem carrying four blooms can weigh enough to topple the whole pot. Staking early also protects the stem when you move the plant to the table for Christmas dinner.
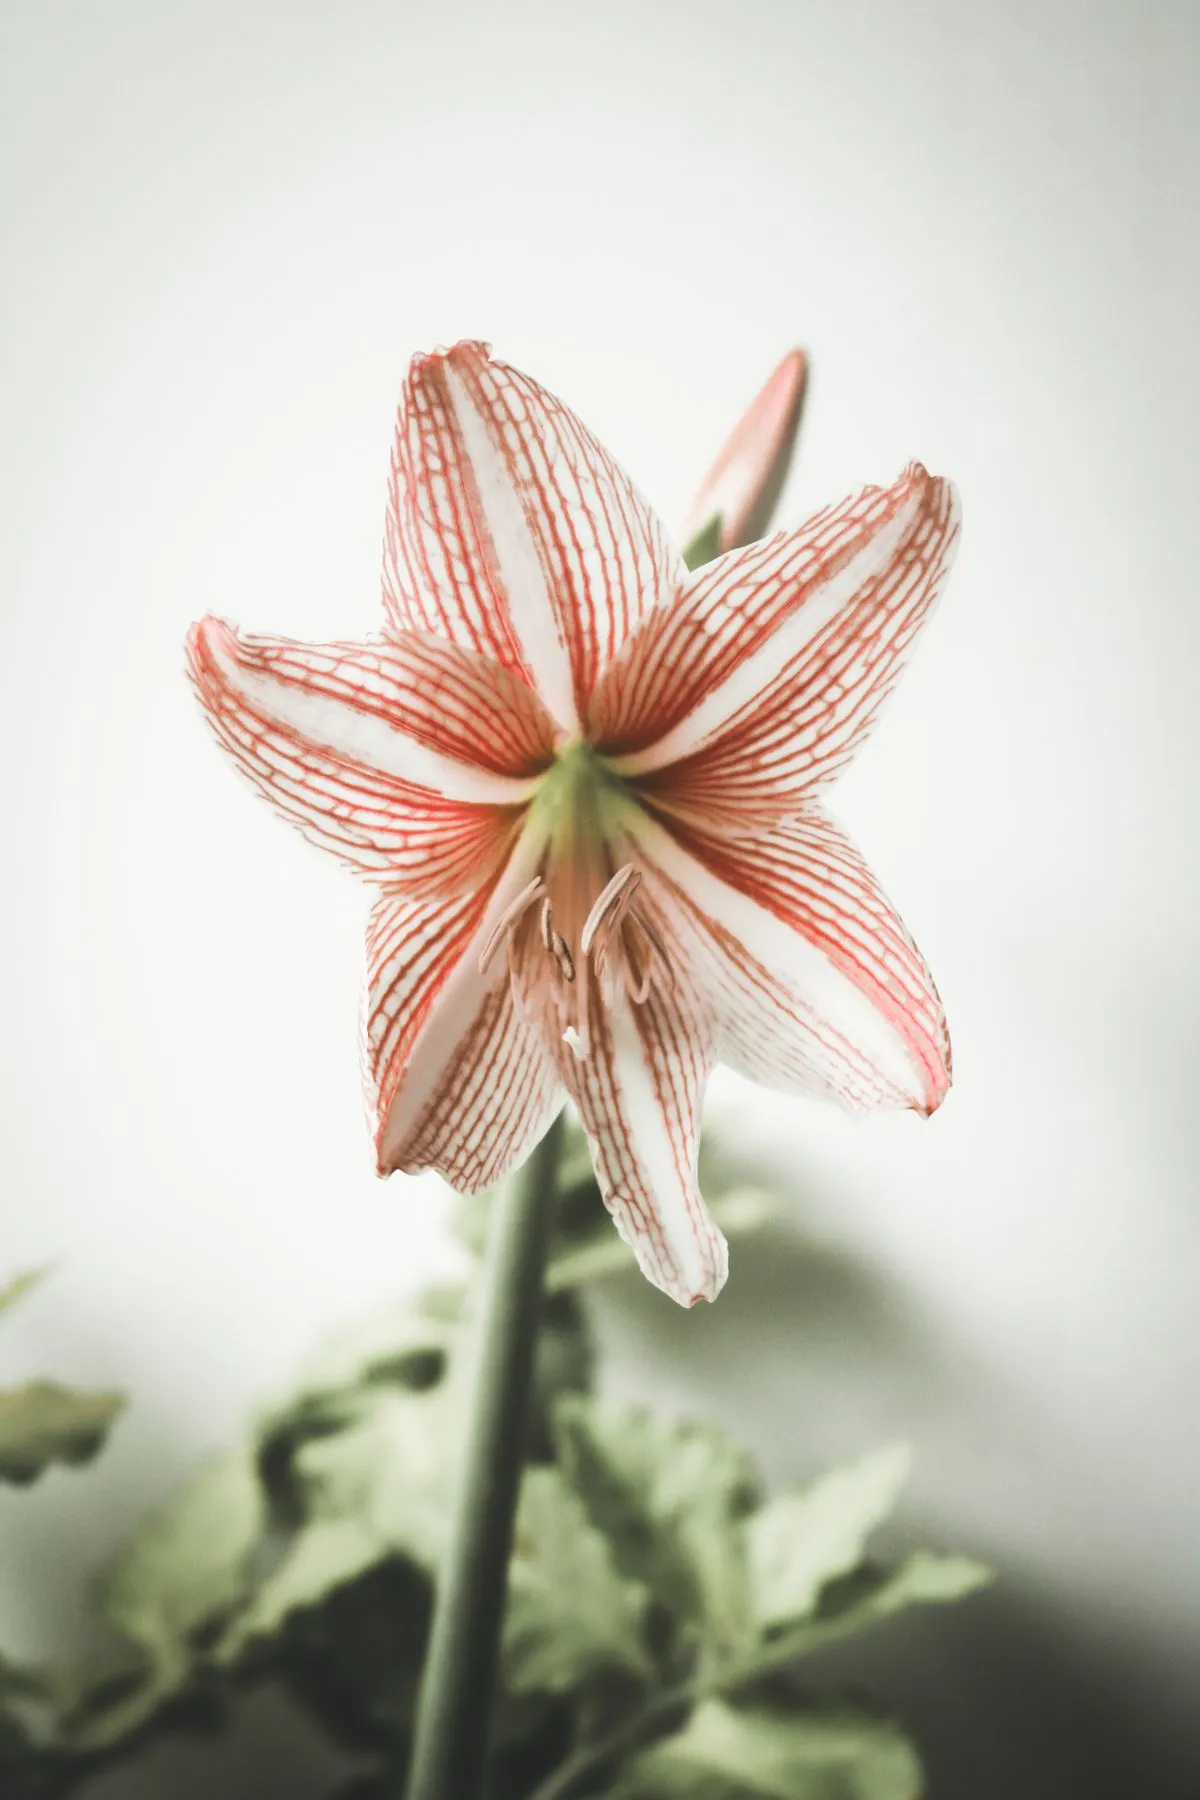
9. Feed Only After Flowers Open
Do not feed a newly planted bulb. It needs no fertilizer until it is in full growth, and early feeding can burn young roots. Once flowers open, feed every two weeks with a balanced liquid houseplant feed at half strength, and keep watering when the compost dries out. After flowering, feeding matters more: the leaves that follow need food to rebuild the bulb for next year. Stop feeding in late summer, when you start to rest the bulb.
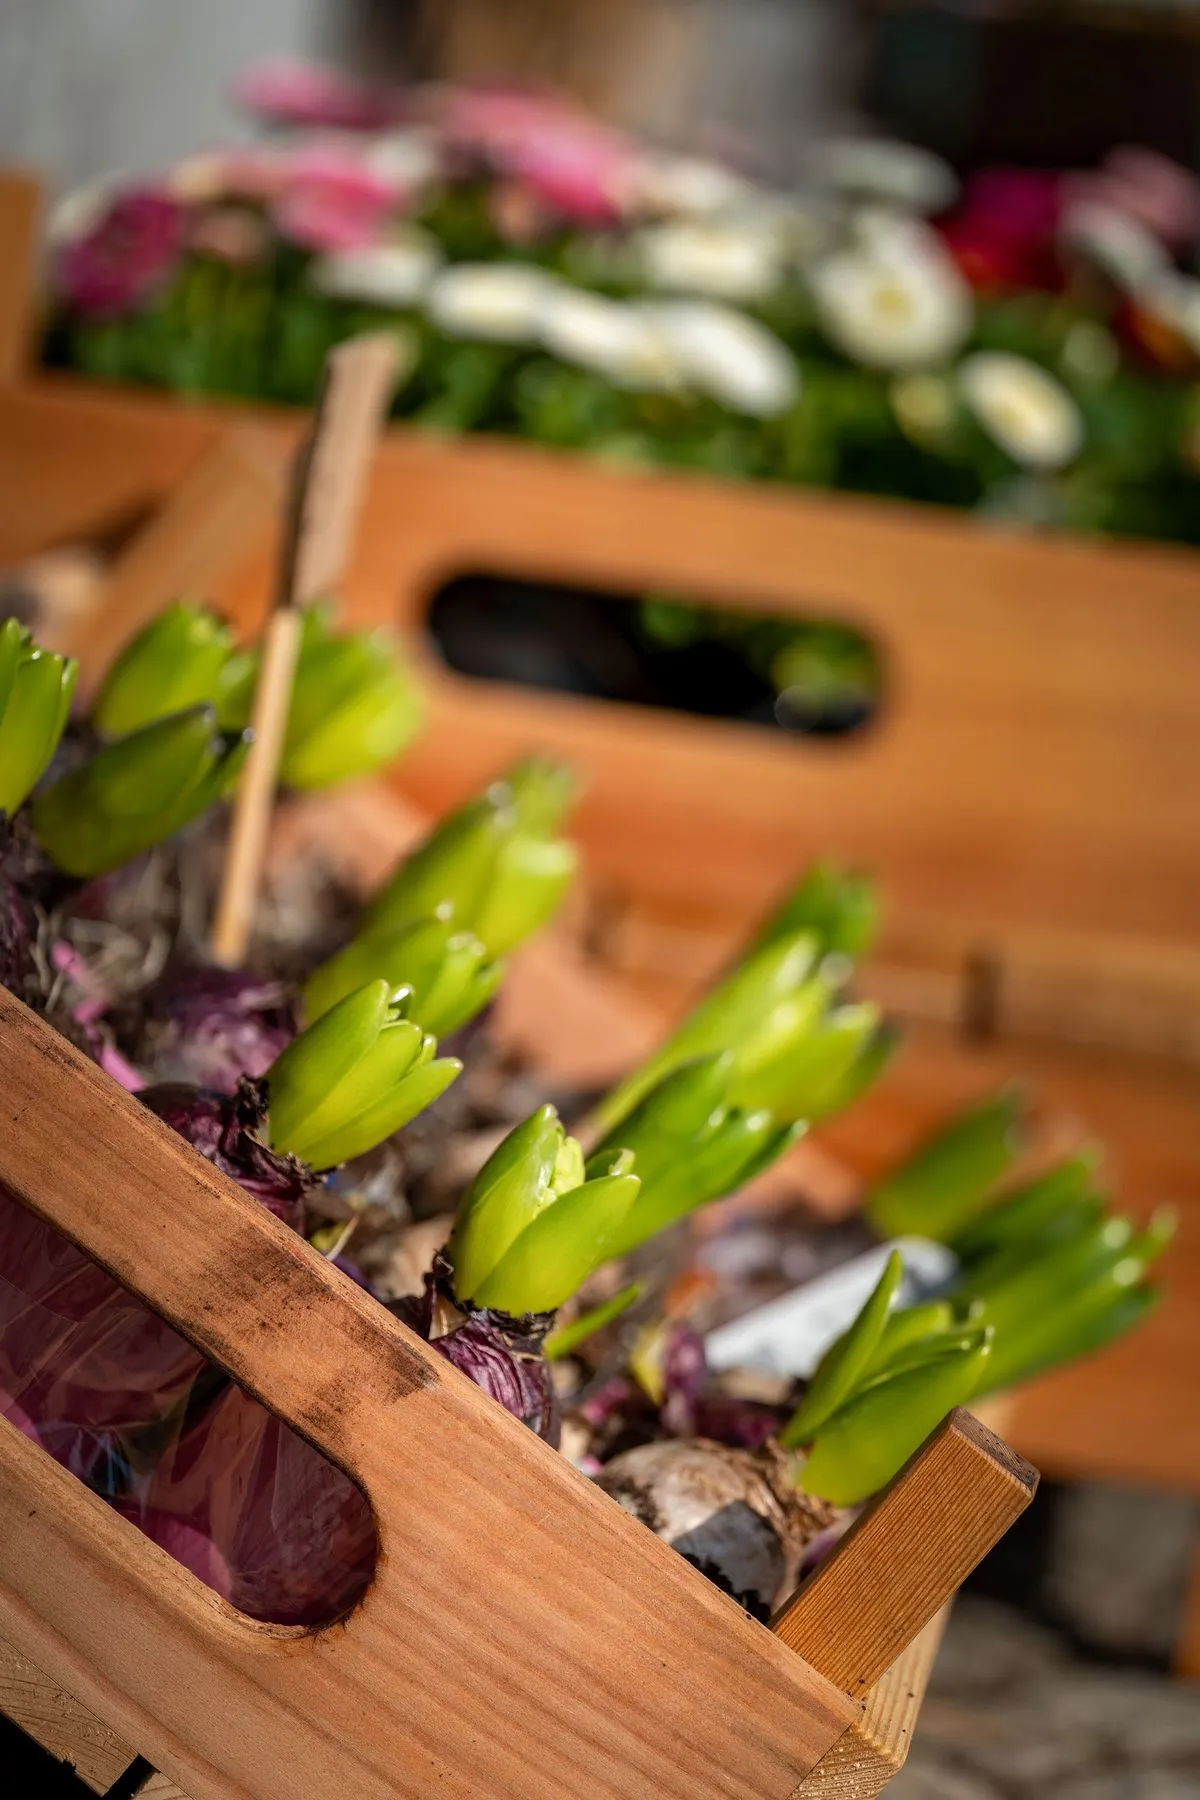
10. Keep Flowers Out of Direct Midday Sun
Bright light is good, but harsh midday sun through glass fades red and pink petals and shortens the display. A bright east or west windowsill is ideal, with a few hours of gentle sun and bright indirect light for the rest of the day. If your only option is a south facing window, pull the plant back a metre or use a sheer curtain at midday. Cooler rooms, away from fires and radiators, can stretch flowering from two weeks to nearly four.
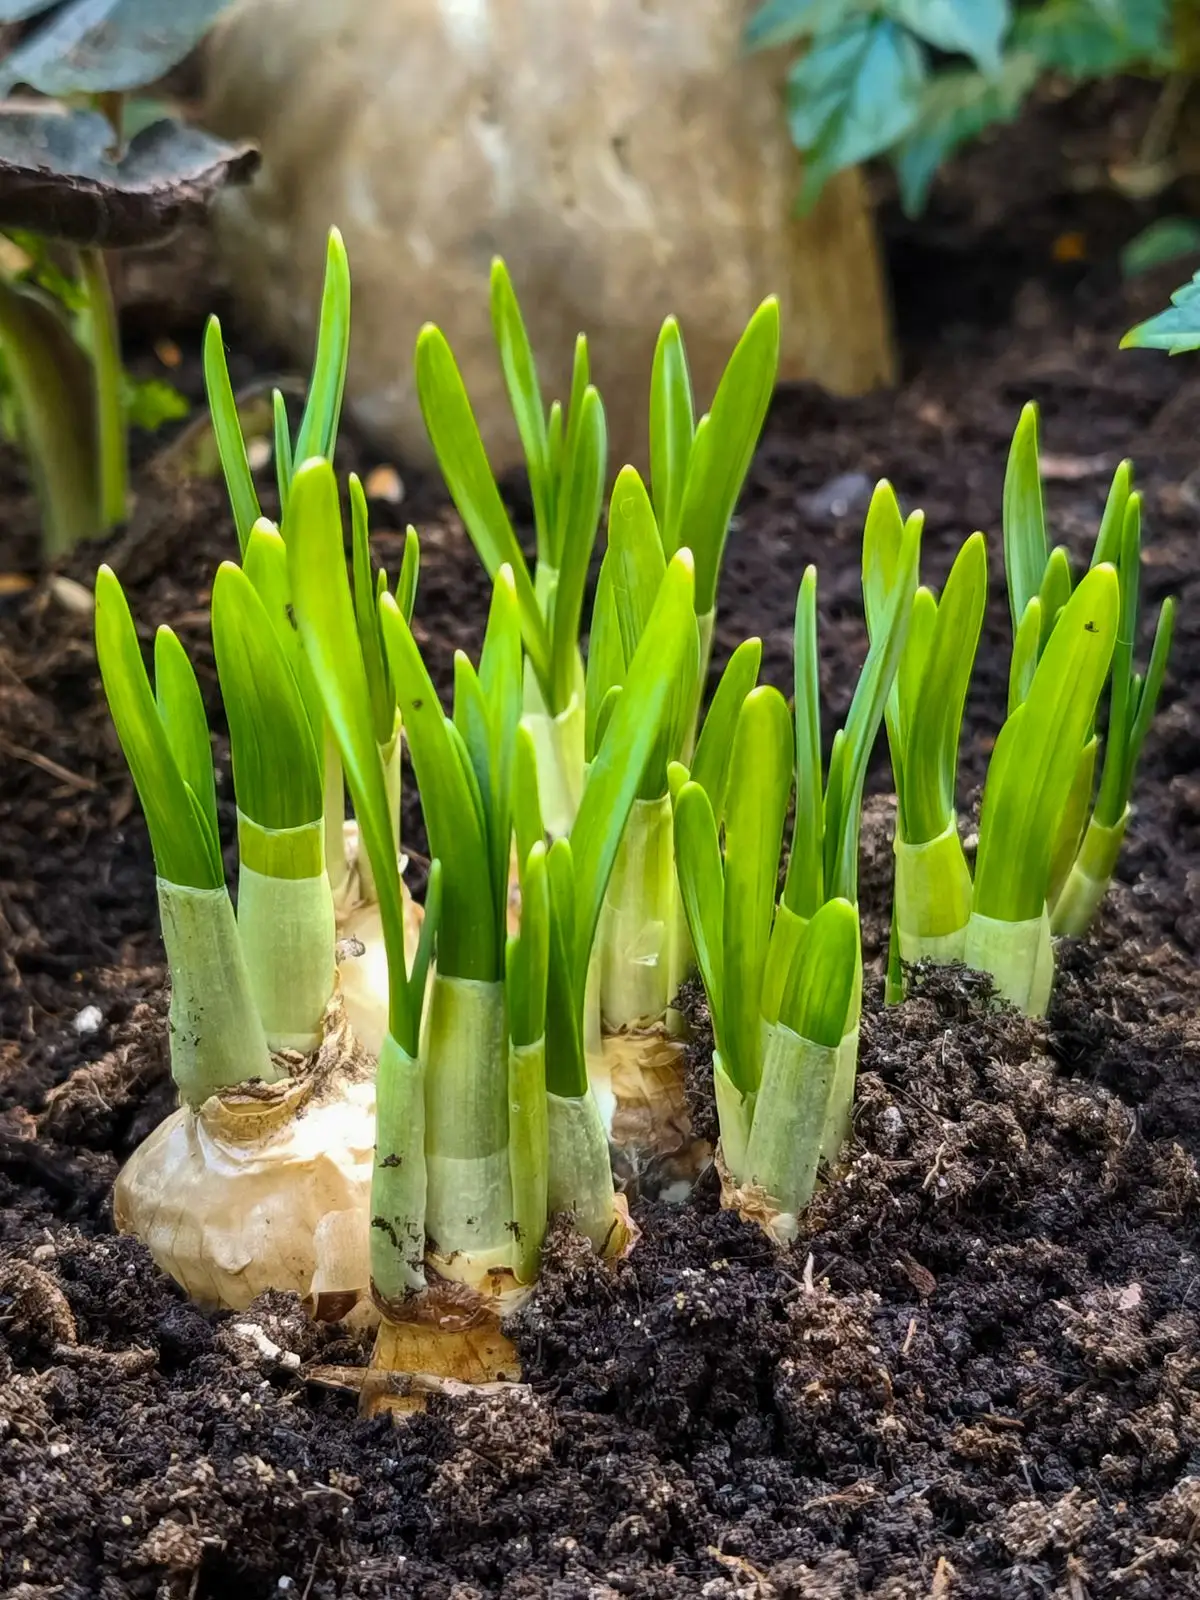
11. Deadhead Spent Blooms Promptly
As each flower fades, snip it off where it meets the main stem, but leave the stem itself until it turns yellow. Removing dead flowers stops the plant wasting energy on seed pods and keeps the display tidy. When all flowers on a stem are done, cut the whole stem down to about 5 centimetres above the bulb. Never cut the leaves: they are the solar panels that recharge the bulb for next year, and they need at least two months of healthy growth.
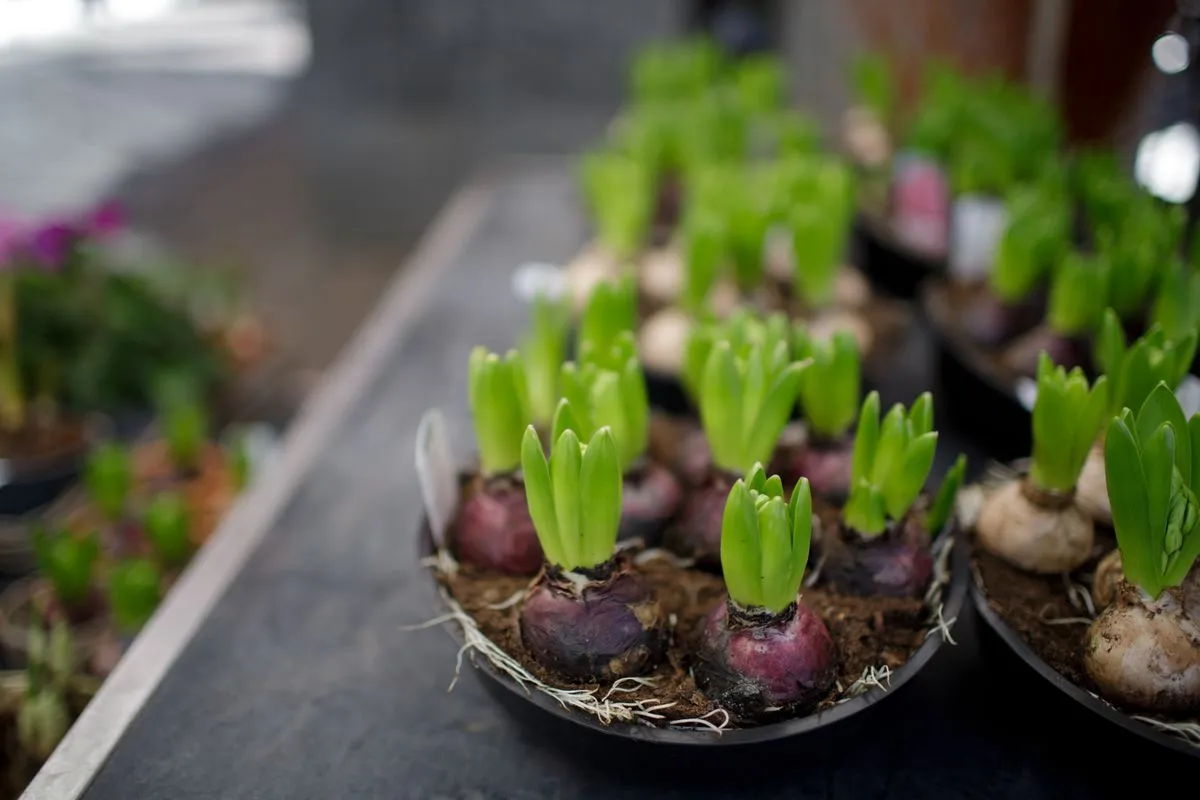
12. Grow the Leaves On After Christmas
After the flowers finish, move the plant to your brightest windowsill and treat it like a houseplant: water when dry, feed every two weeks, and let the long strap leaves grow. This leafy stage, from January to August, is when the bulb stores food for next winter. If you have a greenhouse, the plant will love a summer holiday there; our winter greenhouse gardening guide explains how to manage light and temperature through the seasons. Do not be tempted to cut leaves early.
13. Rest the Bulb in Autumn to Rebloom
To flower again, the bulb needs a rest. In September, stop watering and let the leaves yellow and die back naturally, then store the pot somewhere cool and dry, around 10 to 13 degrees, for eight to ten weeks. In November, bring it back into warmth, remove dead leaves, top up the compost, and water once. Most healthy bulbs rebloom, though flowers may be slightly smaller than the first year. Bulbs that never rest usually produce leaves only.
14. Watch for Red Blotch and Rot
Red streaks on leaves or the flower stem point to red blotch, a fungal problem spread by wet conditions. Remove affected leaves, improve air circulation, and avoid splashing water on the foliage. Soft, mushy bulb tissue means rot, usually from overwatering or a pot without drainage. Cut away soft parts with a clean knife, dust the cut with cinnamon or sulfur, and replant in fresh dry compost. A firm bulb planted shallowly in gritty compost rarely has either problem.
15. Try One Bulb in Water for a Gift
For a beautiful gift, grow one bulb in a tall glass vase made for bulbs, with water just touching the base plate. Roots grow down into the water and the flowers open above the glass, which looks stunning on a table. Change the water weekly and keep the vase out of direct sun. Water grown bulbs rarely rebloom well, so treat this one as a single season show, and grow your keeper bulbs in compost. For more winter plant care, see our lavender in winter guide and our composting in winter guide.
Frequently Asked Questions
How long do amaryllis bulbs take to flower?
Most varieties flower six to eight weeks after planting. Plant in early to mid November for Christmas blooms, and allow up to ten weeks for slower varieties or cooler rooms.
Can I plant amaryllis bulbs outside?
In mild climates they can grow outside in summer, but they are not frost hardy. In most regions, grow them indoors in winter and move them outside only after the last frost.
Why is my amaryllis growing leaves but no flowers?
Usually the bulb skipped its autumn rest, was planted too deep, or is too small. Give it a full leafy season, rest it for eight weeks in autumn, and replant shallowly.
Are amaryllis bulbs toxic to pets?
Yes, amaryllis bulbs and leaves are toxic to cats and dogs if eaten. Keep plants out of reach of curious pets, and clear fallen leaves promptly.
Should I remove the wax coating on a gift bulb?
No, waxed bulbs are designed to flower without soil or water. Leave the wax on, stand the bulb upright in bright light, and enjoy the show.
Conclusion
Planting amaryllis bulbs is a small November job with a spectacular payoff. Choose a firm, fat bulb, plant it shallowly in fresh gritty compost, water once and wait, then give it warmth, light, and a stake. Do that, and you will have tall stems of trumpet flowers just when the house needs colour most. Grow the leaves on, rest the bulb next autumn, and the same bulb can delight you again next Christmas.