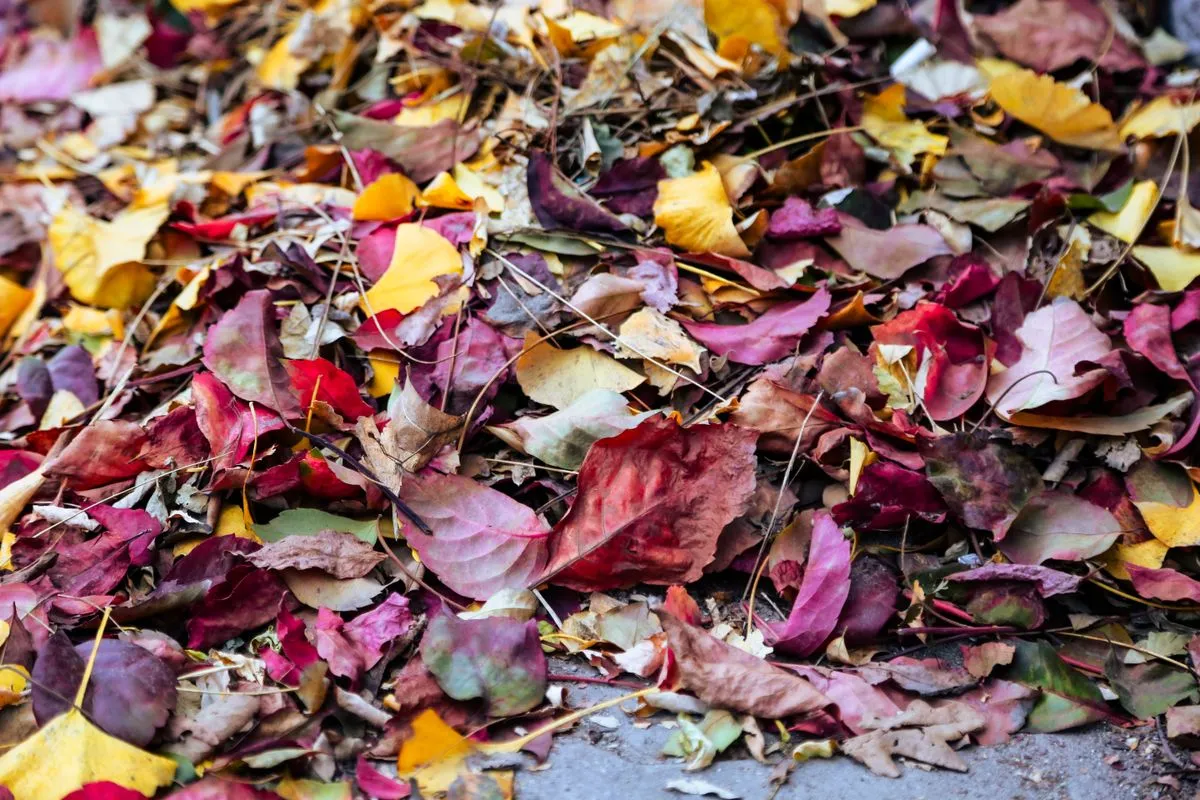
The benefits of making leaf mold november gardening tasks start with something most gardeners throw away: autumn leaves. Piled up and left alone, leaves rot down into a dark, crumbly material that holds water, feeds soil life, and makes heavy soil easier to work. It costs nothing, takes little effort, and is ready in one to two years. This guide gives you 15 tips to make the best leaf mold your garden has ever had.
November is the perfect month to start, because trees are dropping leaves fast and gardens are being tidied for winter. Instead of bagging leaves for collection, gather them into a simple bin and let fungi do the work. Leaf mold is not compost: it is lower in nutrients, but it is superb as a soil conditioner and mulch, and it suits every plant from roses to seedlings.
1. Understand What Leaf Mold Is, and Is Not
Leaf mold is leaves broken down mainly by fungi, not by the hot bacterial action that makes compost. The result is dark, sweet smelling, and crumbly, with very little nitrogen but excellent water holding ability. It will not replace fertilizer, but it transforms soil structure, helps sandy soil hold moisture, and loosens clay. Think of it as a soil conditioner first and a gentle feed second, and use it alongside compost rather than instead of it.
2. Gather Leaves in November, When They Fall Freely
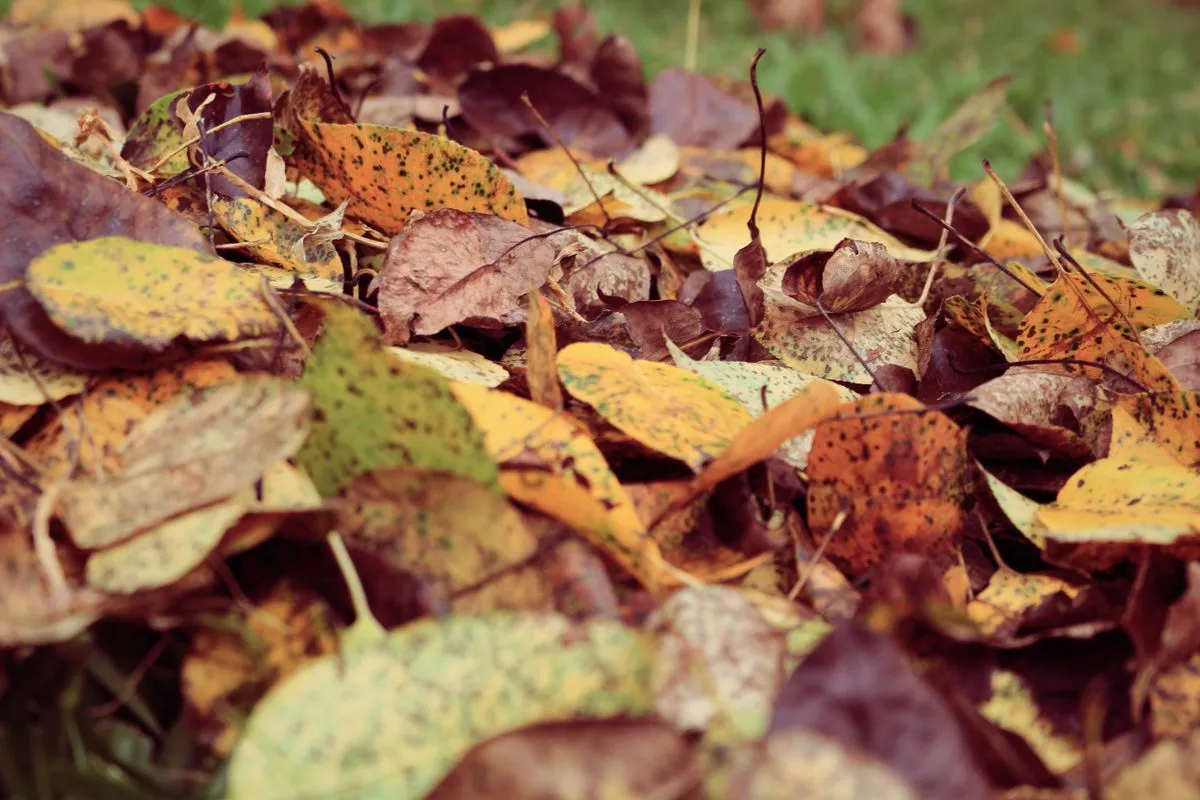
November gives you the biggest supply of leaves with the least effort. Rake beds, lawns, and paths once a week while leaves are falling, rather than waiting for one giant weekend clear up. Wet leaves are heavier but pack better, so collect after rain if you can. Avoid leaves from busy roads, which can carry pollutants, and skip diseased leaves from plants with serious problems. For the composting side of autumn clear ups, see our composting in winter guide.
3. Pick the Best Leaves for Fast Results
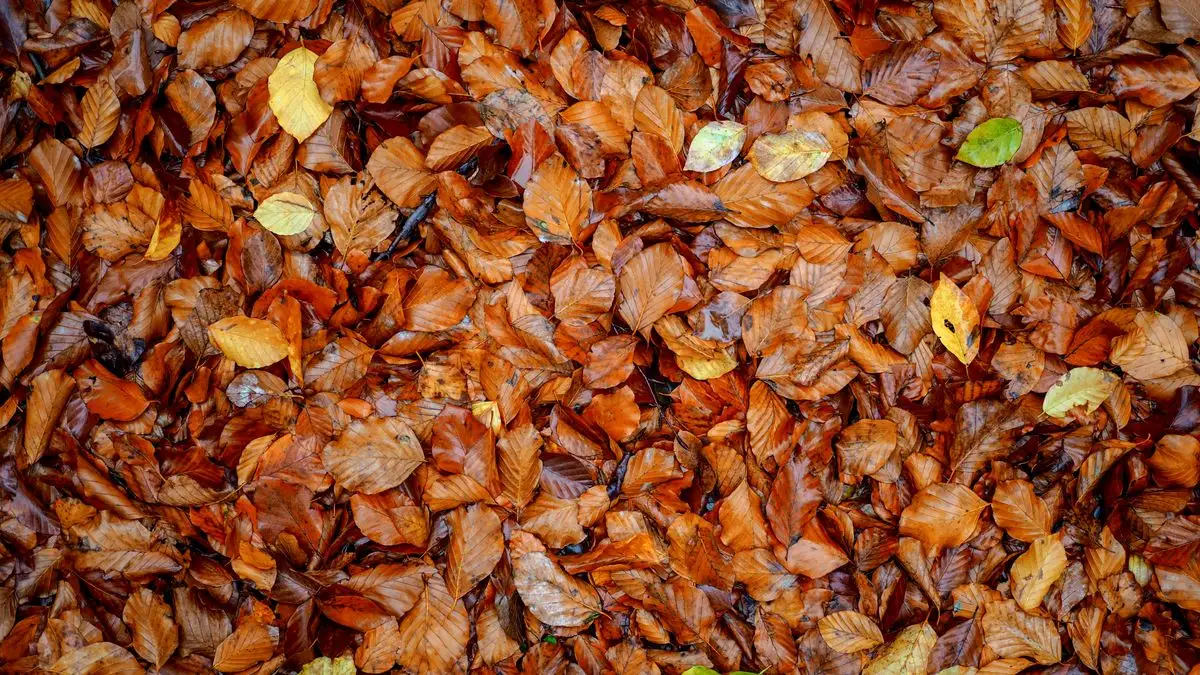
Not all leaves rot at the same speed. Oak, beech, and hornbeam make superb leaf mold in one to two years, while maple and ash break down faster. Thick, waxy leaves such as holly, laurel, and conifer needles rot very slowly and are better kept out of the main pile. Mix leaf types when you can: a blend of soft and tough leaves gives a better texture than a pile of one kind alone. Shredding tough leaves before piling speeds everything up.
4. Shred Leaves Before You Pile Them
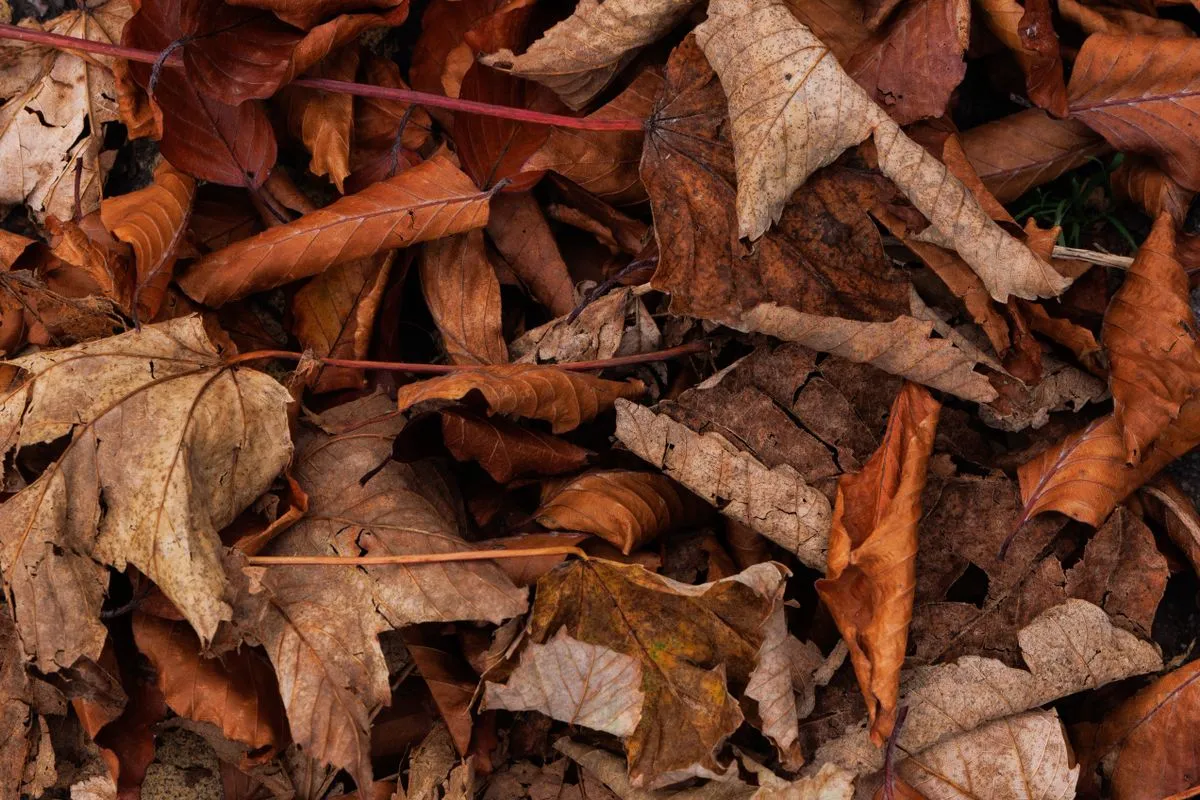
Whole leaves mat together into soggy layers that rot slowly. Run a mower over leaves on the lawn, or pass them through a garden shredder, to break them into small pieces. Shredded leaves pack tighter, hold moisture evenly, and rot in about a year instead of two. If you have no mower or shredder, stuff dry leaves into a bag and crush them by walking on it. It is simple, free, and makes a real difference to the finished product.
5. Build a Simple Bin From Wire or Pallets
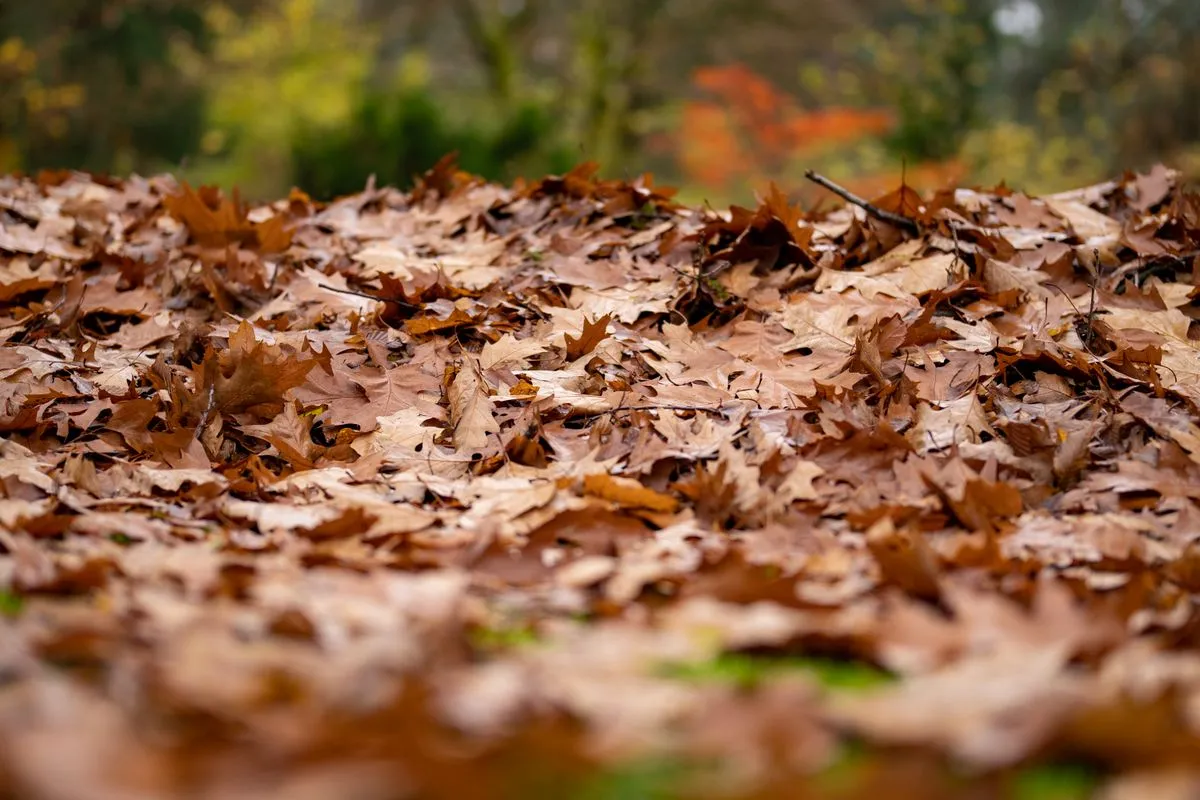
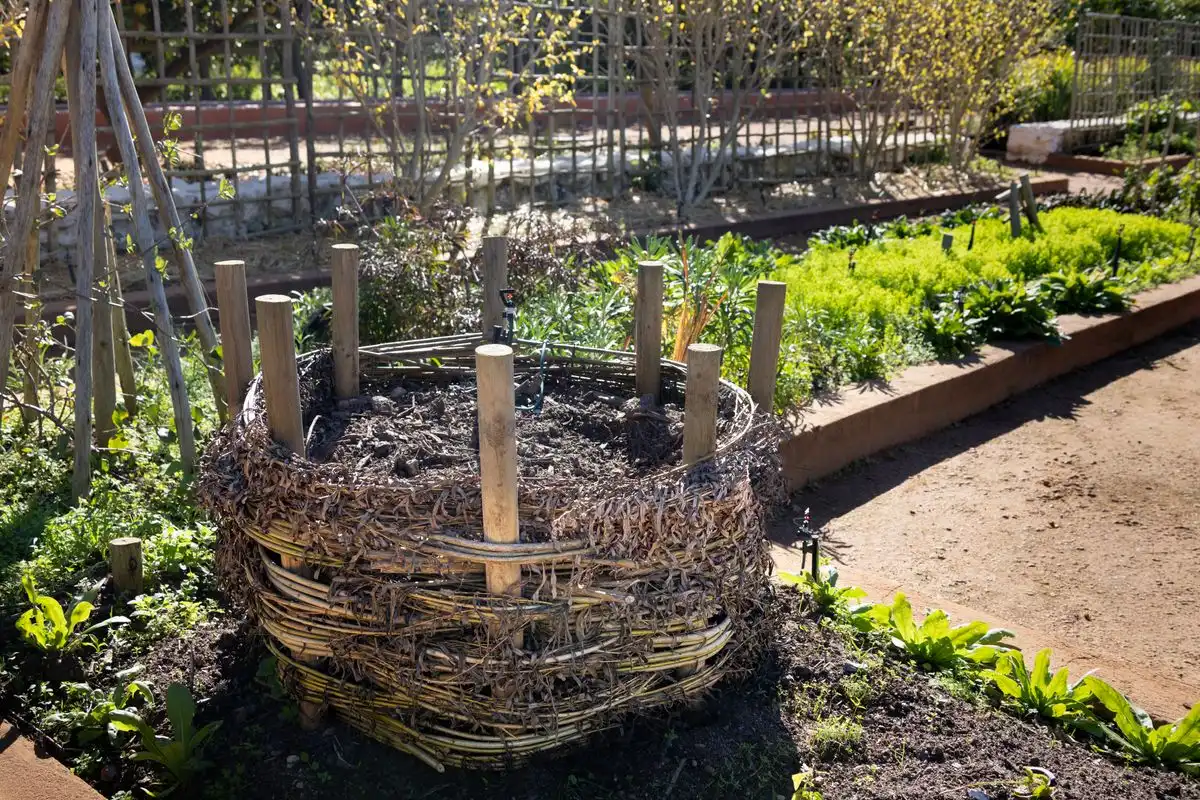
Leaf mold needs air and containment, not a fancy bin. A circle of wire mesh about one metre across, held with four posts, works perfectly and costs little. Old pallets wired into a square also work well. Site the bin in a shady corner where it will not dry out, and leave the base open to the soil so worms and fungi can move in. A bin one metre cubed holds enough leaves for a good yearly supply.
6. Wet the Pile Thoroughly as You Fill It
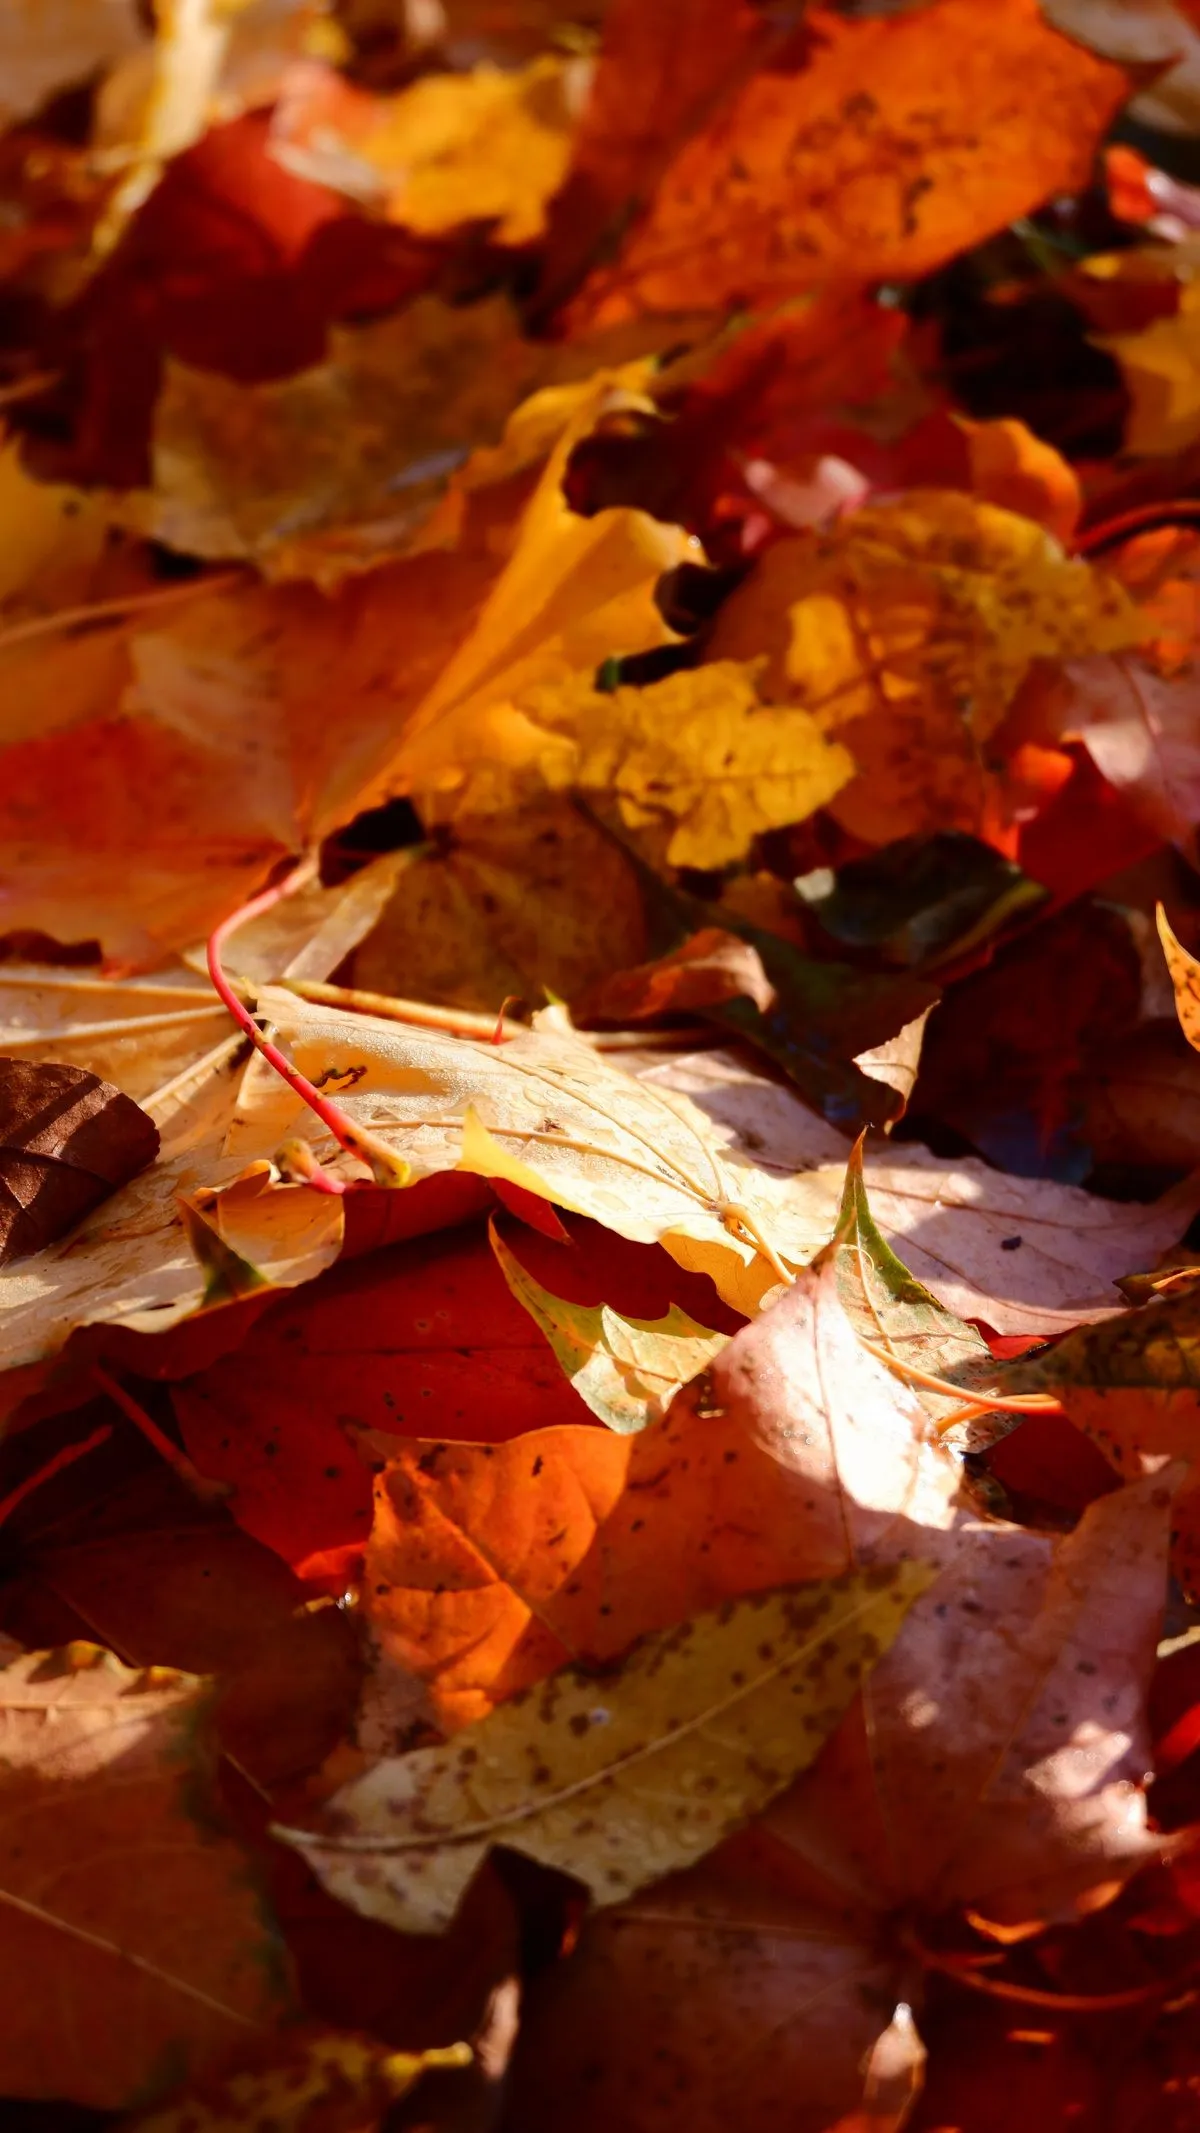
Dry leaves will not rot, so water each layer as you add it, until the pile feels like a wrung out sponge. In a dry November, soak the pile with a hose before covering it. Fungi need steady dampness, and a pile that dries out stops working for months. Check moisture every few weeks in dry spells, and water again if the top feels dry. A pile that stays damp through winter rots fastest in spring.
7. Cover the Pile to Hold Moisture
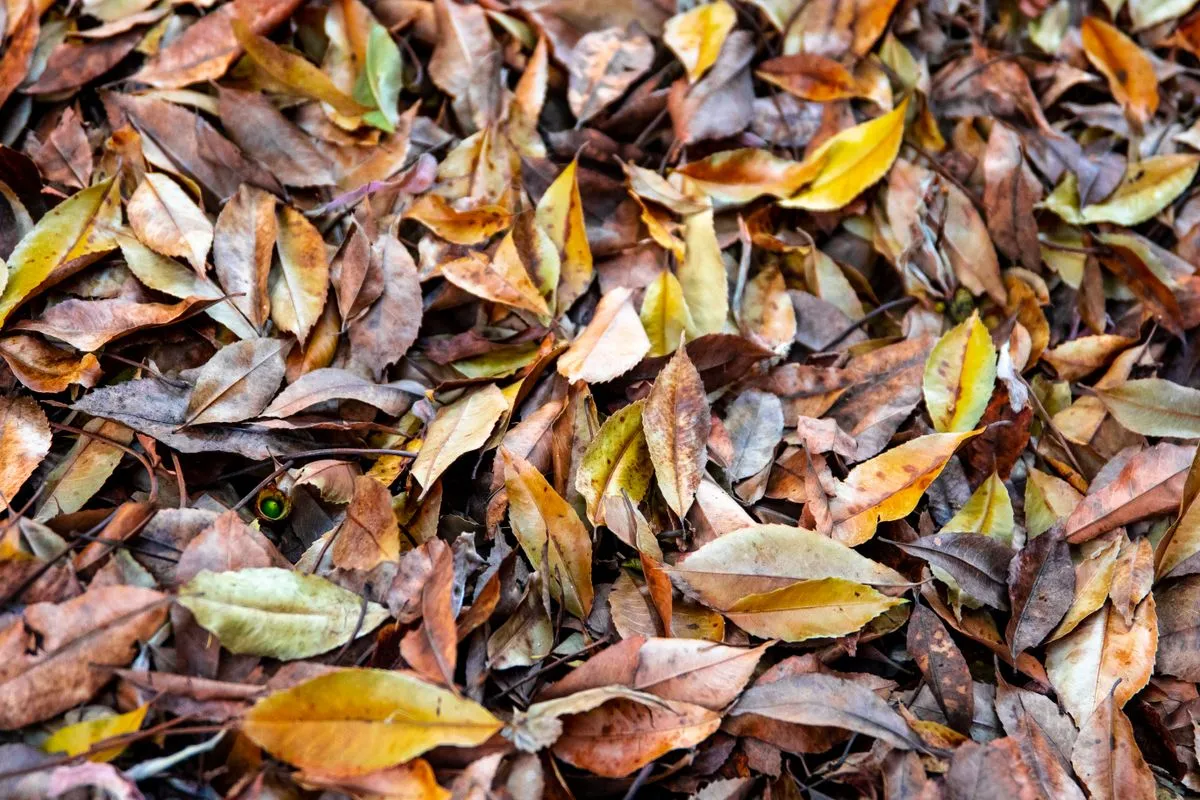
Cover the bin with old carpet, a board, or a sheet of plastic weighed down with bricks. A cover keeps rain from waterlogging the pile and stops wind drying the top layer. It also keeps the pile tidy and discourages animals from nesting in it. Lift the cover once a month to check moisture, and replace it firmly. An uncovered pile can still work, but it takes noticeably longer and dries out in summer.
8. Be Patient: Leaf Mold Takes One to Two Years
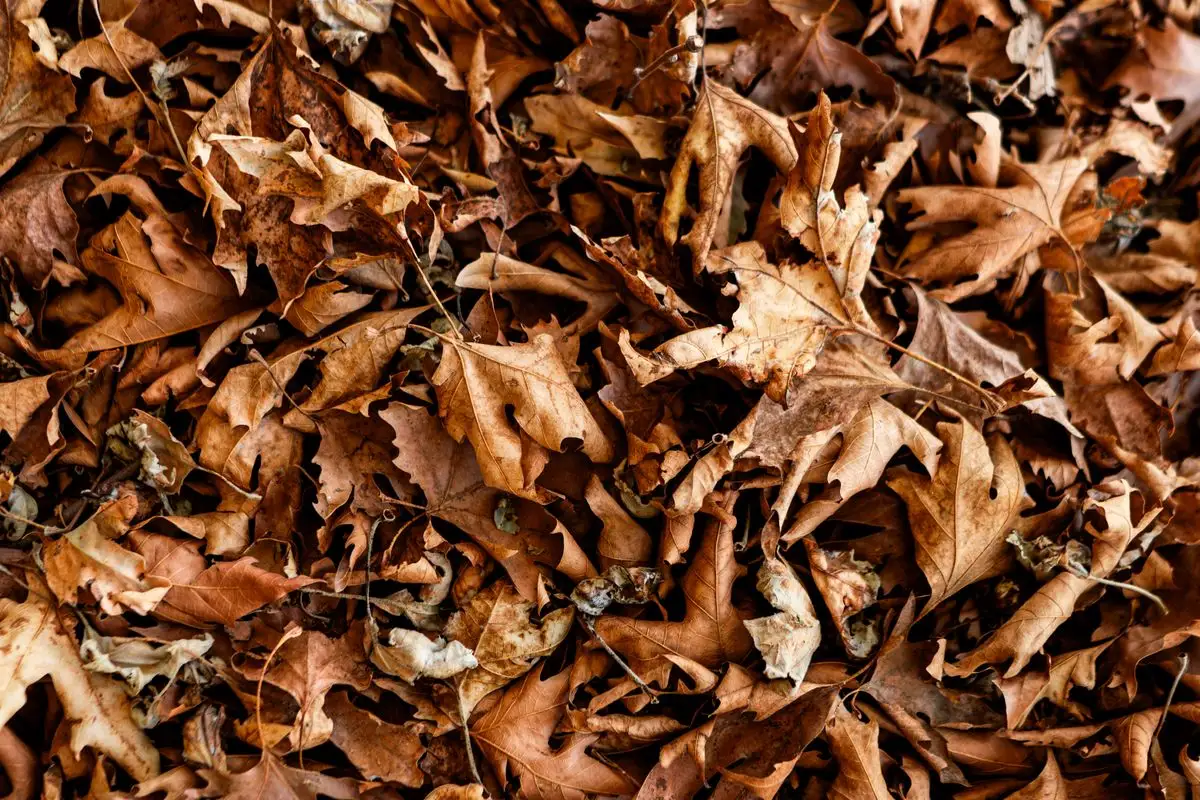
Unlike hot compost, leaf mold is a slow, cool process, and impatience is the main reason gardeners give up. After one year you will have rough, partly rotted material that is excellent as mulch. After two years it becomes fine, dark, and crumbly, perfect for mixing into potting compost. Start a new pile every November, and within two years you will have a rolling supply, with one pile maturing while the next one builds.
9. Turn the Pile Once or Twice a Year
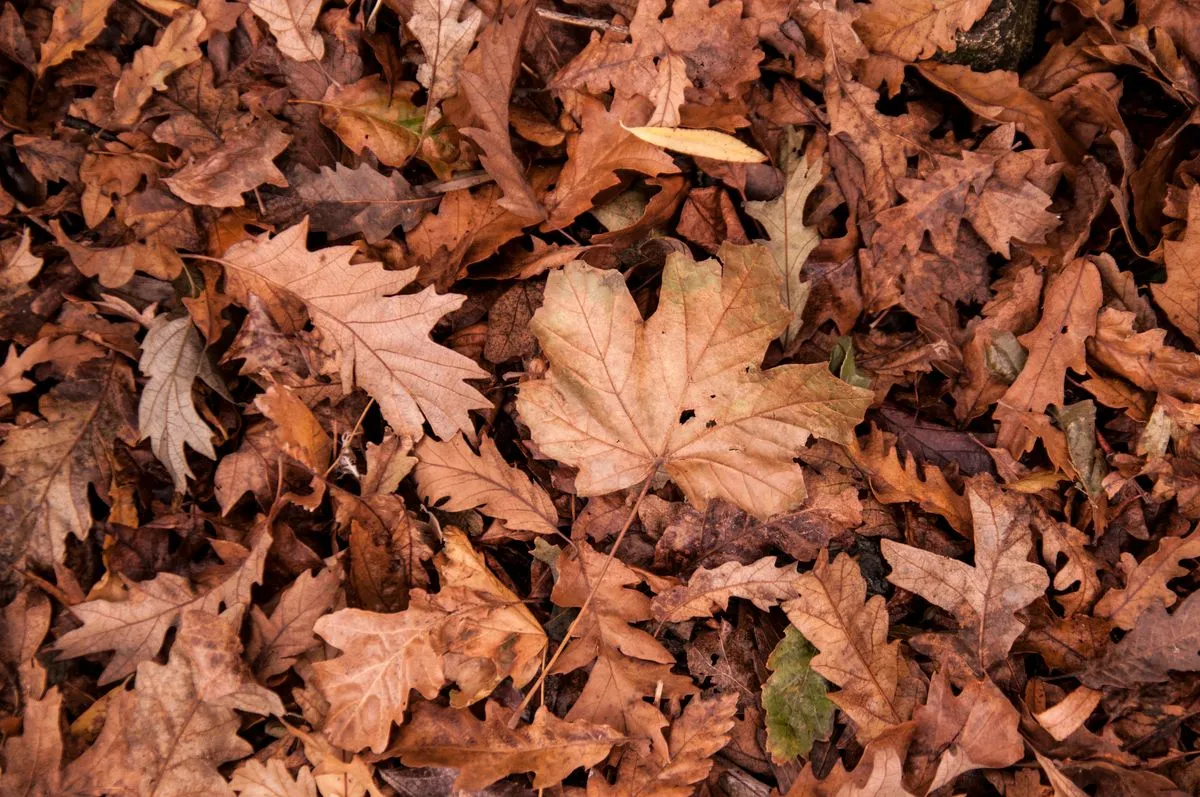
Turning is optional but helpful. Fork the pile over once in spring and once in autumn, moving dry outer leaves into the damp centre. This evens out moisture and speeds rotting by a few months. If you never turn it, the pile still rots, just more slowly, with the centre finishing first. Do not turn in freezing weather, when fungi are inactive anyway. A quick turn also lets you check for problems such as dry pockets.
10. Use Year Old Leaf Mold as Mulch
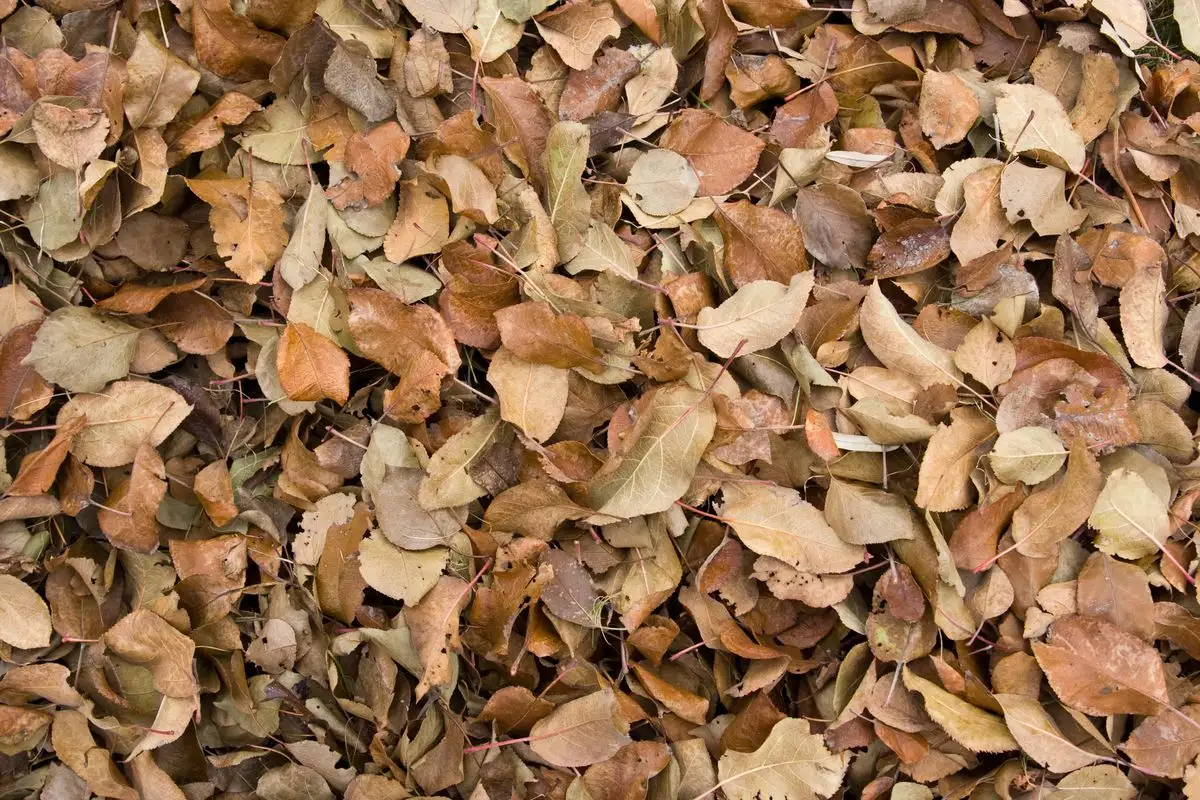
After about a year, spread partly rotted leaf mold 5 to 8 centimetres thick around shrubs, roses, and perennials. It suppresses weeds, holds moisture through dry spells, and slowly feeds soil life as it breaks down further. Keep mulch a few centimetres away from stems and trunks to avoid rot. Mulching in November also insulates roots against early frosts, which pairs well with the tasks in our cold frames beginners guide.
11. Use Two Year Old Leaf Mold in Potting Mix
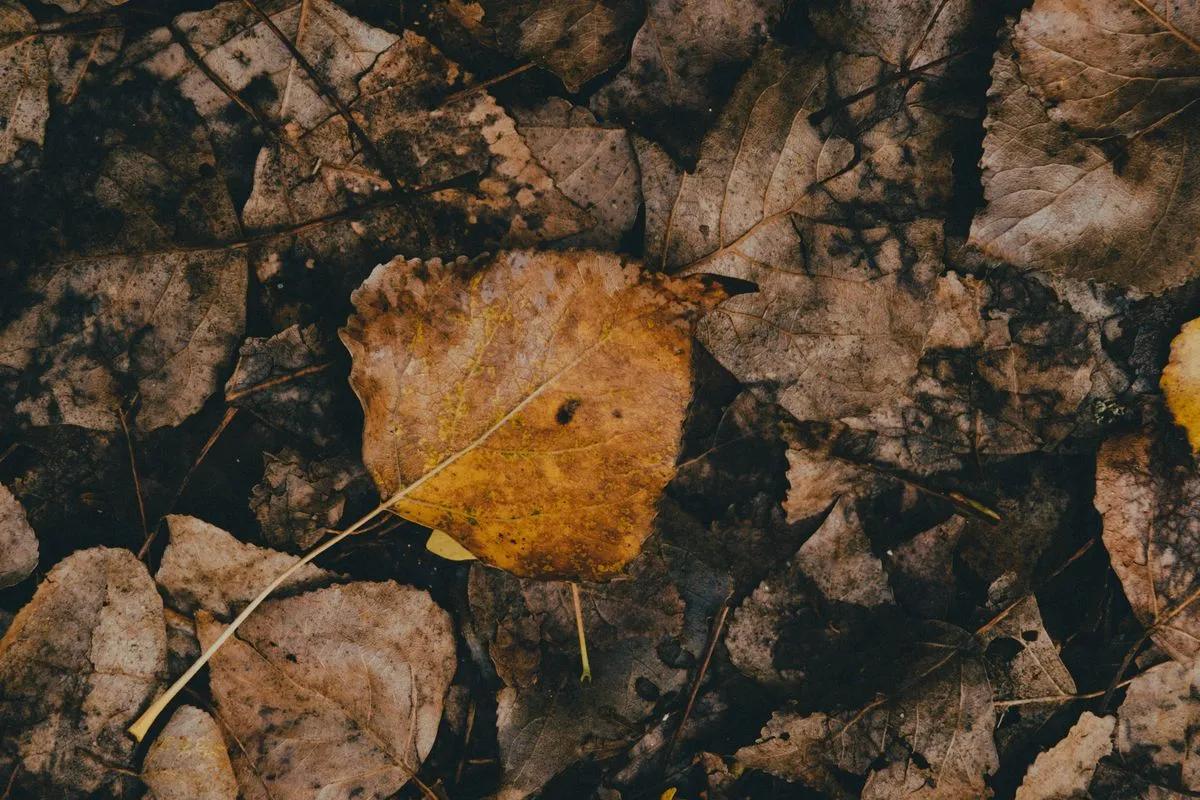
Fully rotted leaf mold, dark and crumbly with no recognisable leaves, is a superb potting ingredient. Mix one part leaf mold with two parts multipurpose compost for sowing seeds and potting young plants. It holds water without waterlogging, which suits seedlings and cuttings. Sieve out any large bits first, and add a little perlite for extra drainage. Plants grown in leaf mold enriched mix often need less watering.
12. Dig Leaf Mold Into Clay and Sandy Soil
Leaf mold improves both problem soils. In clay, it opens up the structure, improves drainage, and makes digging easier. In sand, it acts like a sponge, holding water and nutrients that would otherwise wash away. Dig in a generous bucketful per square metre in autumn, when beds are being cleared. Repeat yearly, and within three years you will feel the soil change under your fork. For more soil feeding ideas, see our winter greenhouse gardening guide.
13. Make a Quick Bag Method for Small Gardens
No room for a bin? Stuff damp, shredded leaves into black plastic bags, punch a few air holes, tie loosely, and stack them behind a shed. Bags rot a little slower than bins, but they work well and cost nothing. Check moisture after a month and add water if the leaves feel dry. Bag leaf mold is ideal for balcony and courtyard gardeners, and it keeps small spaces tidy through winter.
14. Avoid Common Leaf Mold Mistakes
Three mistakes slow most piles: leaves piled dry, leaves left uncovered in wind, and the wrong leaves included. Never add thick evergreen leaves or conifer needles to the main pile, and never add leaves sprayed with weedkiller. Do not add kitchen waste, which attracts rats and turns the pile into a compost heap. Keep the pile damp, covered, and leaf only, and fungi will do the rest with almost no input from you.
15. Plan a Yearly Leaf Mold Routine
Make November leaf collection part of your yearly calendar. Rake weekly, shred, fill the bin, water, and cover. In spring, turn the pile and start using last year’s batch as mulch. In autumn, sieve the two year old batch for potting mix. Once the routine is set, leaf mold becomes a free, reliable part of your garden, year after year. Few garden jobs give so much back for so little money and effort.
Frequently Asked Questions
Is leaf mold the same as compost?
No. Leaf mold is made only from leaves, broken down slowly by fungi, and is lower in nutrients than compost. It excels as a soil conditioner and mulch, while compost is a richer feed.
Can I use leaf mold on all plants?
Yes, leaf mold suits almost every plant, including acid loving plants such as azaleas, because it is slightly acidic. It is gentle enough for seedlings and strong enough for roses.
Why does my leaf mold smell bad?
A bad smell usually means the pile is waterlogged and airless. Fork it over, add dry shredded leaves, and check the bin drains freely.
Do I need to add anything to speed it up?
No activator is needed. Shredding, moisture, and patience matter far more than additives. A handful of garden soil adds fungi, but leaves already carry them.
Can I make leaf mold from street tree leaves?
Leaves from quiet residential streets are usually fine, but avoid leaves from busy roads, which may carry heavy metals and pollutants.
Conclusion
Making leaf mold in November turns a yearly chore into free garden gold. Gather leaves, shred them, pile them damp in a simple bin, cover, and wait. In a year you have mulch; in two years you have a superb soil conditioner. Start this November, repeat every year, and your soil will repay you with healthier plants, better moisture holding, and easier digging for years to come.